


At UTB we love learning with the micro:bit and we are always experimenting with how it can be introduced to teachers and learners. We are fortunate to be able to support teachers with integrating it into their curriculum in a meaningful way. One teacher I have been working with has begun using the micro:bit in a Year 10 science class, trying out a few of the projects on the Make Code website with great success. They mentioned to me that they were not sure they were teaching it properly. Was it ok just to give it to the learners to play with and explore? Or should there be a more purposeful pedagogy behind its use?
There are many ways to introduce micro:bit to your learners and you should experiment with what best suits your needs. However if you are intending to deeply integrate the micro:bit into your school and to use it to its full potential, there is one particular method of getting started with the micro:bit that you should consider.
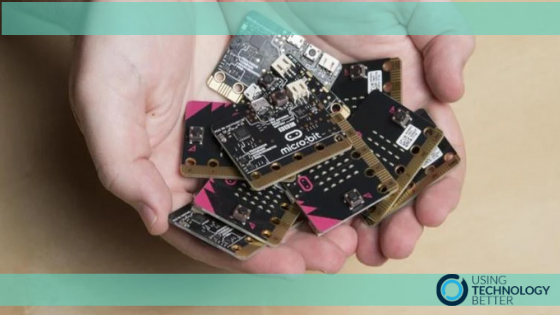
Focus on the Hardware!
The micro:bit is packed full of fantastic hardware such as an accelerometer, compass, bluetooth and light sensor. If students are to be able to use the micro:bit in imaginative and powerful projects they really need to be supported to understand all the hardware on the micro:bit, how it works and what its real world applications are. If students simply start to code the micro:bit without first considering the real world applications of the hardware, are they using it to its full potential?
[bctt tweet=” Support students to understand how the hardware works on the @micro:bit #creatorsnotconsumers #utbpd ” username=”MrTTHATCH”]
While students learn a lot through playing with the micro:bit I have found a short initial focus on the hardware can capture their attention as they draw connections between the classroom and the world.
Here’s my process for supporting students to be fluent users of the micro:bit.
Stage One: ‘Behind the Hardware’ Videos
Sneakily hidden at the bottom of the Make Code website is some extremely valuable content (They are also on YouTube here). The ‘Behind the Hardware’ videos are a great starting point for introducing the micro:bit. If you already know what project you will be doing with the micro:bit choose the video that introduces that piece of hardware (i.e if you are going to start with the ‘Paper, Scissors, Rock’ project then show the students the accelerometer video.) These awesome videos will show the learners how this hardware works and how it is used in the real world.

[bctt tweet=” The @micro:bit Behind the Hardware videos are an invaluable resource for introducing the @micro:bit @usingtechbetter #utbpd ” username=”MrTTHATCH”]
Stage Two: Real World Applications
Once students have watched a ‘Behind the Hardware’ video I then get them to brainstorm a list of other real world applications for this hardware. ‘Where else might you find this hardware?” is a great question to start with. Once they have a decent list get them to choose 1-2 applications and discuss what could go wrong if this hardware was incorrectly programmed? This gets them thinking about errors and builds them up to be a bit more resilient when they start their project. If they are coding the ‘Rock, Paper, Scissors’ project there is not much risk if the code is incorrect so I find value in getting them to think about real world errors.
Stage Three: The Project
Now students are ready to undertake a project and this can be done in 2 ways. You can select a Make Code project for them that uses the relevant piece of hardware, or you can get the students to identify and select a project that they think uses that hardware.
Stage Four: Reflection and Self Talk
To ensure students are becoming fluent with the micro:bits hardware develop curiosity through questioning. As the students are working on their code and testing the project, engage in purposeful dialogue with them about the relationship between the hardware and the code. Here are some examples of questions I often ask (where relevant):
- What is the code telling the accelerometer (or other hardware) to do?
- What is the code waiting for from the accelerometer?
- What is the accelerometer doing when the micro:bit is tilted this way?
[bctt tweet=” encourage students to think critically about how the @micro:bit hardware is working #utbpd #creatorsnotconsumers @usingtechbetter ” username=”MrTTHATCH”]
With these questions I am trying to develop a sense of reflective self-talk within the students. The intention here is to eventually get them asking themselves these questions.
When the students projects are complete get a few of them to demo their project and explain how the code and hardware are interacting.
I have found this focus on hardware to really develop a deep understanding of the micro:bit as a creative tool. I sometimes wonder whether just focusing on disconnected projects will allow learners to use the micro:bit independently, in creative ways down the track.
If you would like to learn more about the micro:bit check out this blog post on making the most of your micro:bit and even check out our online Getting Started with STEAM course.


