


The Office Lens App, available on all mobile platforms, is an amazing tool.
At a basic level, you can capture your paper or whiteboard notes and so on, but its integration with both Microsoft OneDrive and Google Drive allow you to take this tool to another level.
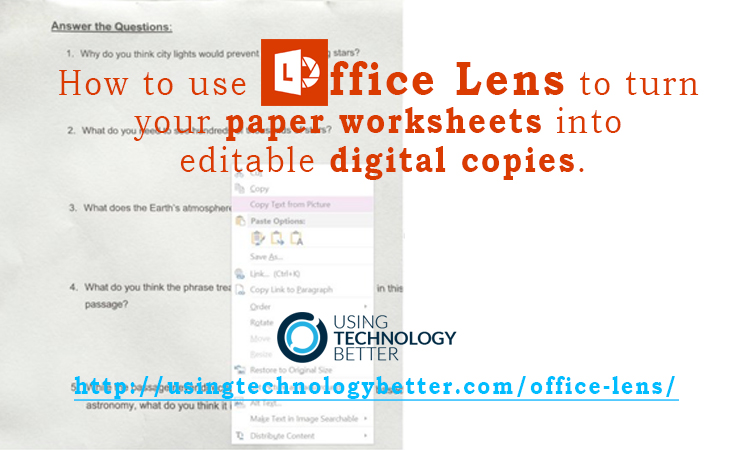
In this Office Lens example, you will see how you can take a printed worksheet and turn it into an editable worksheet in under a minute.
.
![]()
.
Quite often teachers will pick up a paper copy of a worksheet from another teacher and then have to retype that worksheet into their computer to get a digital copy. With Office Lens, you can take a photo of your worksheet, import it into OneNote, Google Docs or Word and then simply extract the text right off the page.
[bctt tweet=”Here is how to use #OfficeLens to turn your paper worksheets into editable digital copies #mstedu”]
You can try this with a hand written worksheet, but the results aren’t 100% accurate (see example at the end of this blog post).
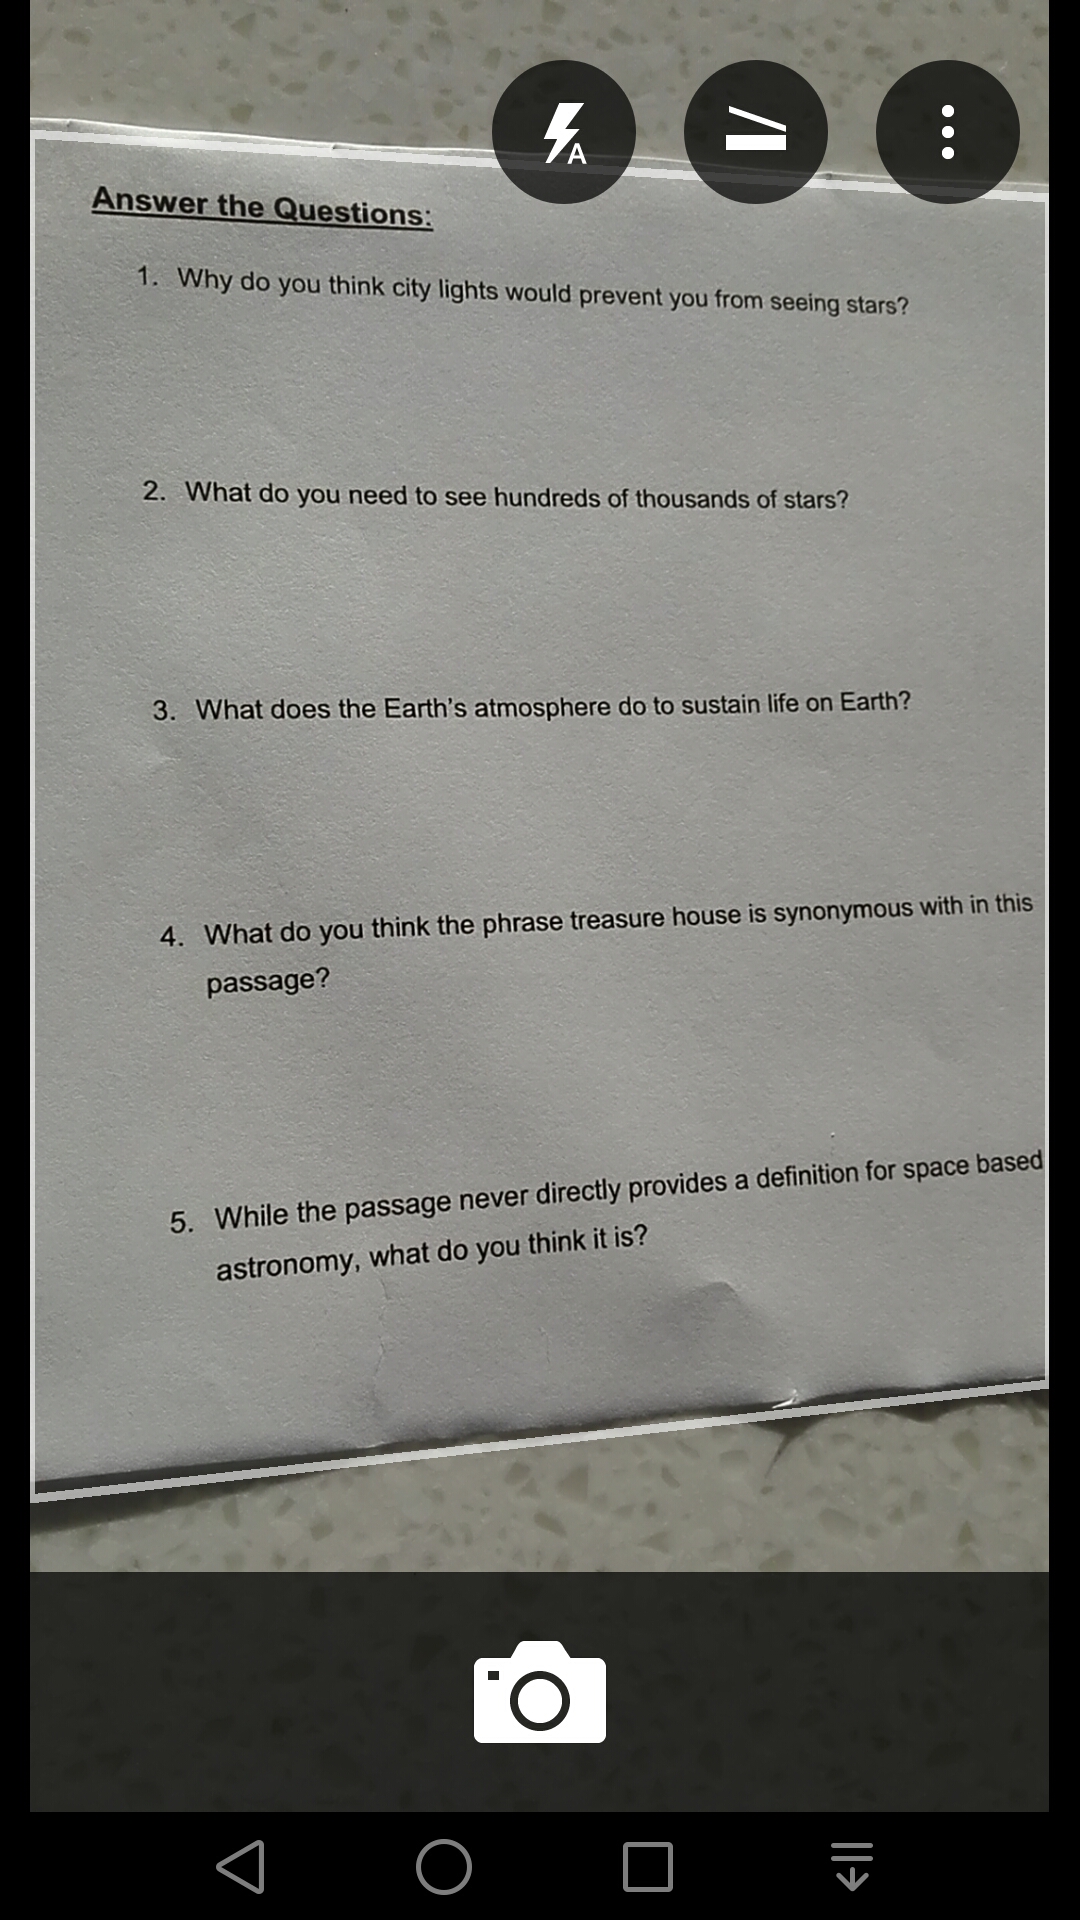
Step 1: Open Office Lens and take a photo of your document
Notice in the screenshot below that Office Lens will pick up your paper even if you aren’t square to the paper. This is a great help when the light is above you and you are trying to take a photo without shadows!
.
.
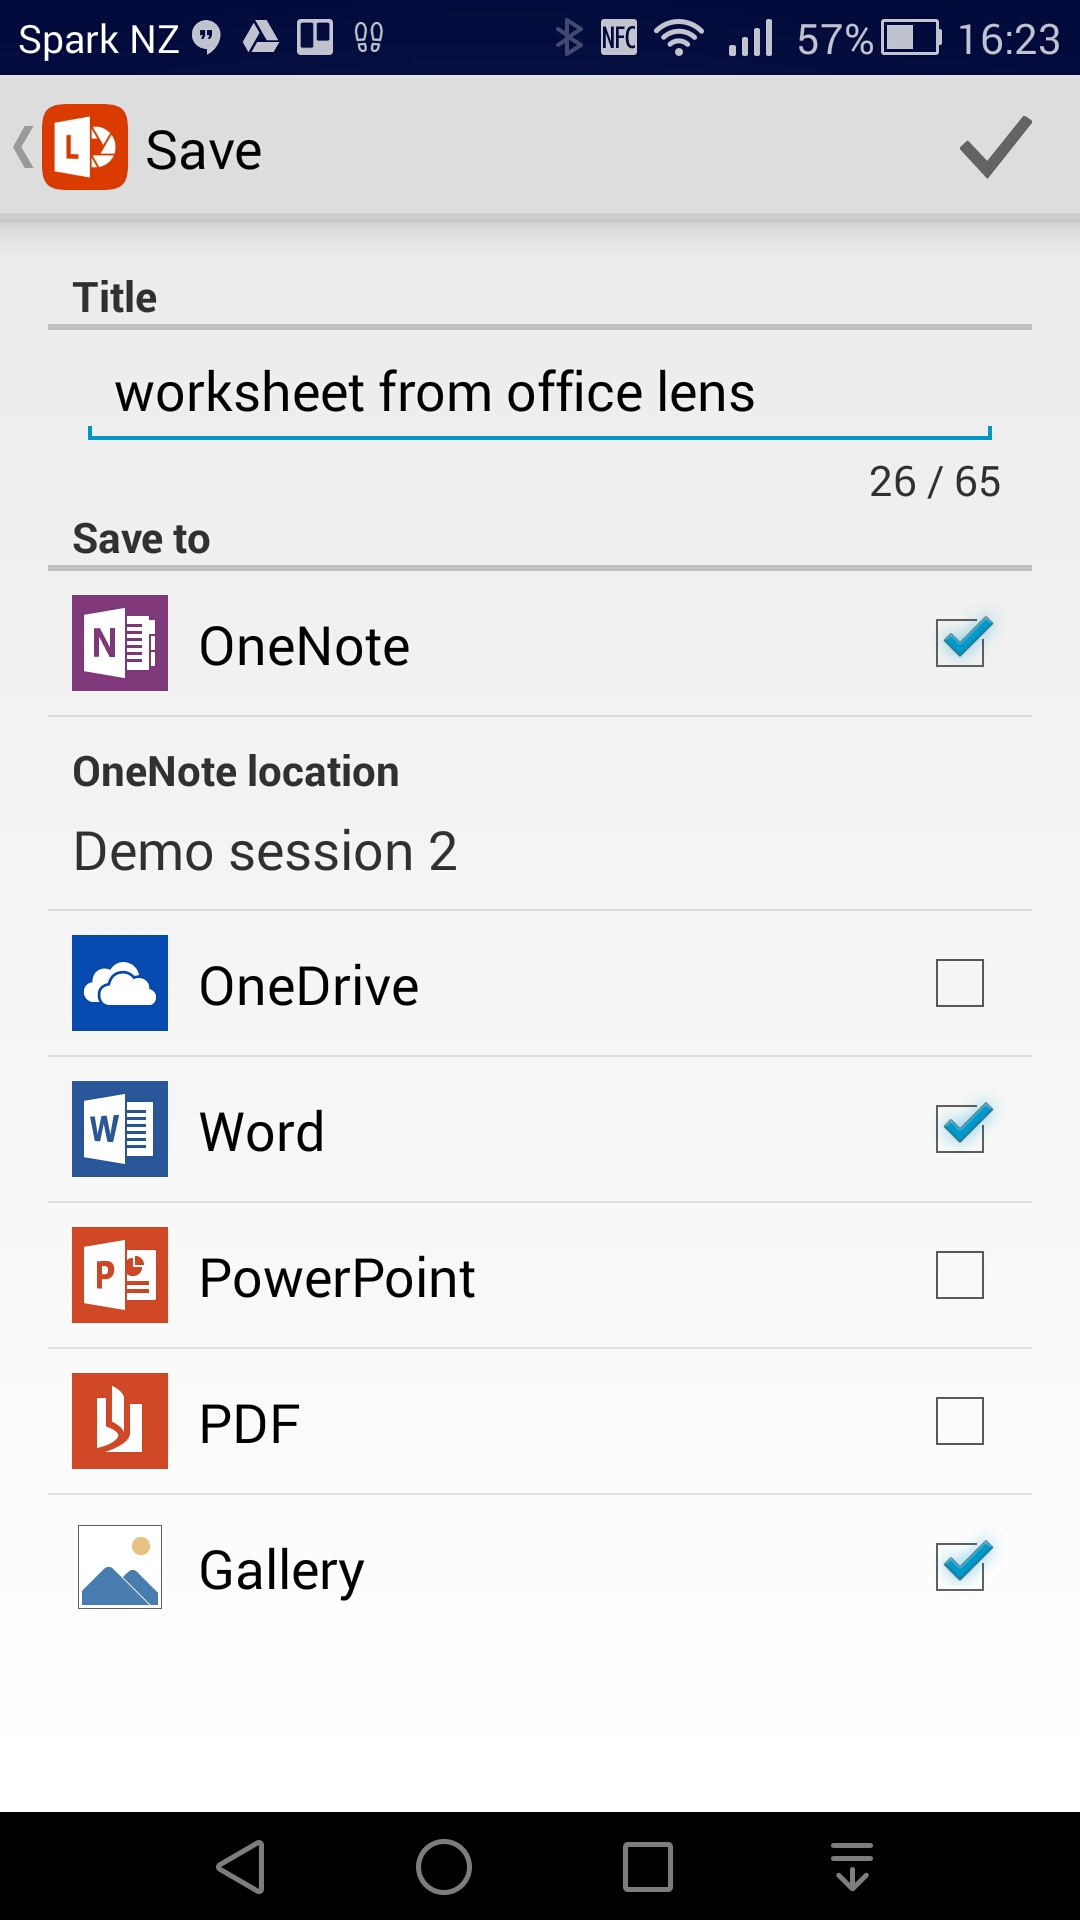
Step 2: Save the photo to your preferred program.
In the example below I have decided to save to Gallery (where you can share to Google Drive), OneNote & Word.
Your photo will automatically be added to these places.
Note: When saving to Word, a new folder will be created in OneDrive in your Documents folder called Office Lens. All Word documents will be automatically stored in that folder.
In OneNote, you can choose which notebook and section you want the page to be created in.
.
If you are wanting to open the worksheet as a Google Doc, you need to do this one extra step to get your Office Lens shot into Google Drive.
Open the photo you took with Office Lens in your phones photo gallery and choose to share it to Google Drive. Once in Google Drive, click the file once and say open in Google Docs.
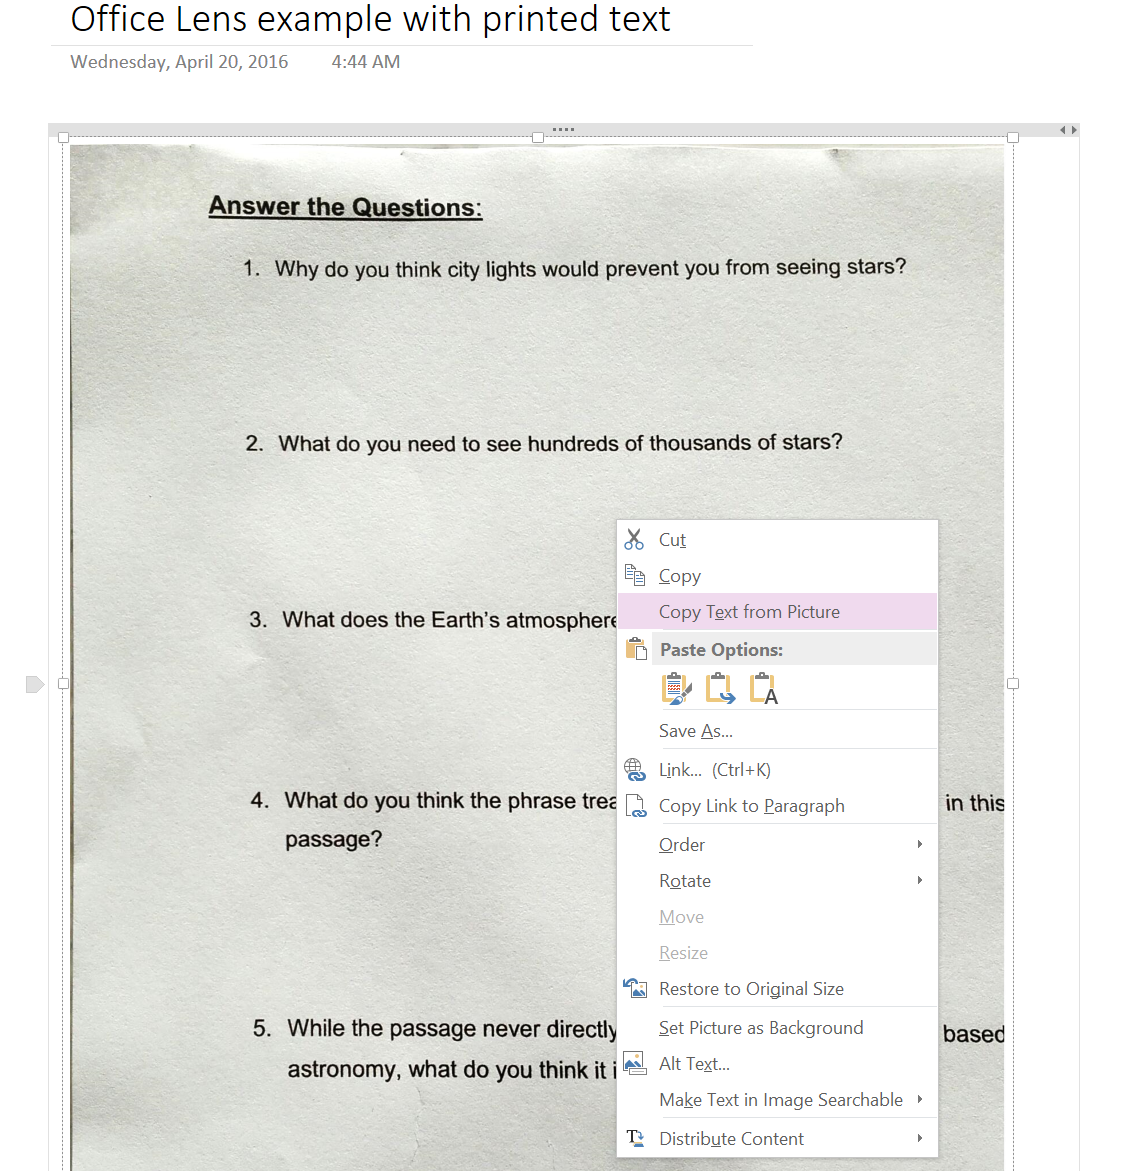
Step 3: Open your Office Lens photo in your program (Word, OneNote, Google Drive)
In Word and Google Docs you will see that the image is inserted, but the text has also been extracted and included on the next page. Surprisingly, Google Docs handled this better than Word – see the 2 links below. However in the handwritten worksheet, OneNote converted the text best, with Word in second and Docs in last (didn’t pick up any words).
To see what this will look like in Word CLICK HERE
To see what this will look like in Google Drive CLICK HERE
When looking at OneNote, you need to right-click on the image and select Copy text from Picture and then paste it below (or have the students write or type their text over the image)
.
.
Pasting the text below
.
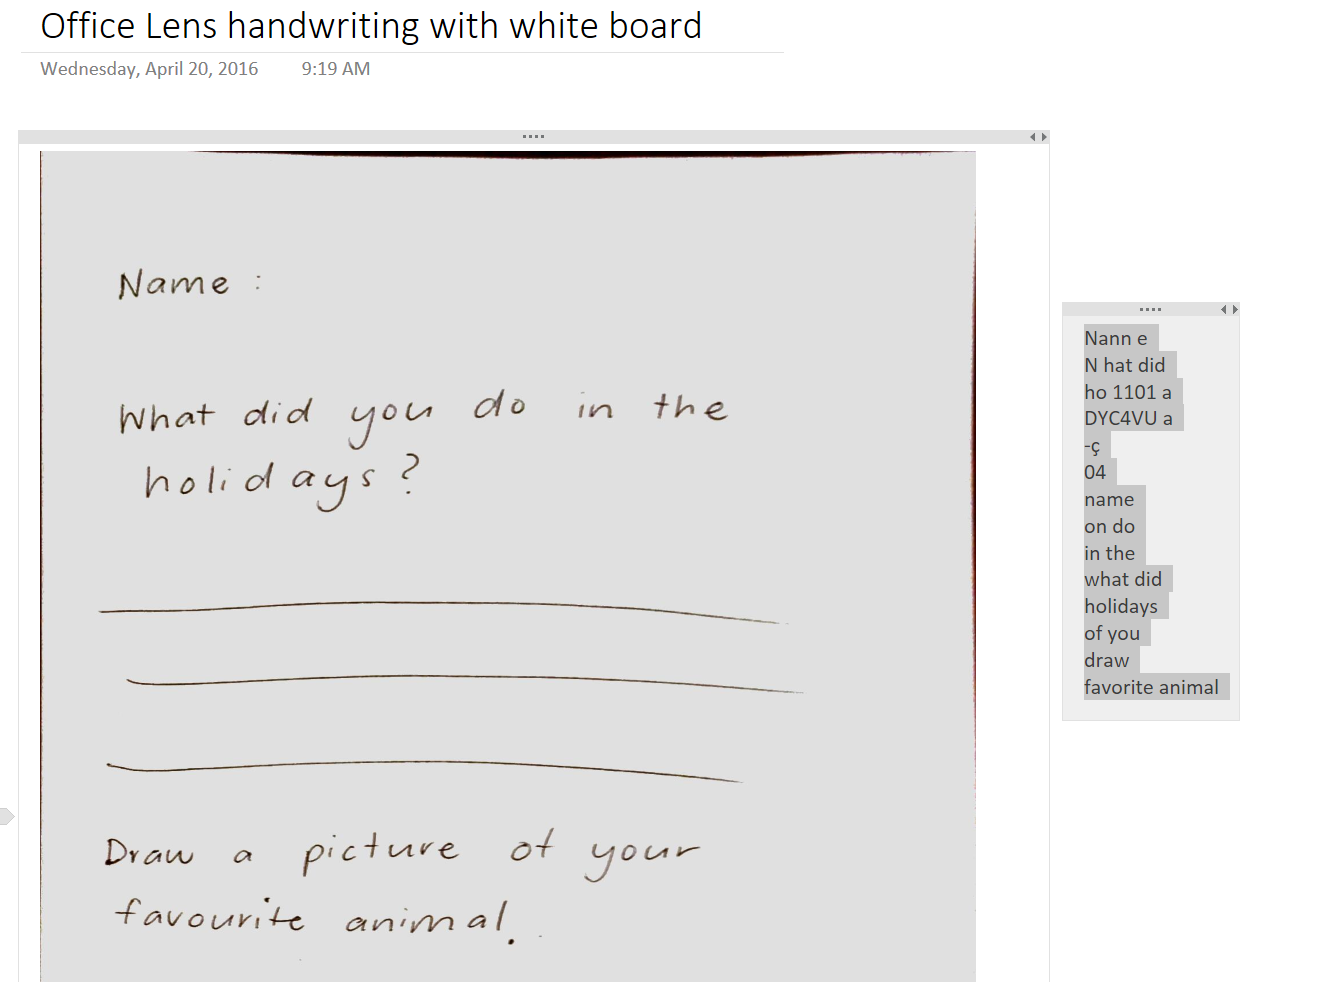
Here is what happens when you use Office Lens to take a photo of written text
I found it best to use the whiteboard feature.
.
.
.


