


[podcast]
This short video demonstrates Google Forms’ new quizzes feature. You will learn how to turn a Google Form into a quiz, input the correct answers, create custom feedback and see your student’s results.
Video Highlights:
00:08 Overview
00:30 Adding questions
01:11 Enabling and configuring quizzing feature
03:25 Collecting email addresses
04:03 Answer key
05:44 Doing the quiz demo
06:44 Basic statistics
07:02 Manual review
08:30 How to configure options
09:33 Closing remarks
Transcript: How to Use Google Forms’ New Quizzes Feature
Hi there, I’m Sam from Using Technology Better, and today I’m going to give you a demonstration of Google Forms’ Quizzes feature. So this is a relatively new feature that Google has added to Google Forms. What it lets you do is automatically grade multiple choice check-box and drop-down questions, lets you return the results to the students straightaway on the screen so they can their score, or at a later date if you like via email. Part of this you can also include feedback on correct and incorrect answers. It also lets you see some basic statistics about your students’ performance. So let’s get started.
[bctt tweet=”#Google Forms is fully featured data collection app, free access to any Google account.” username=”mikereading”]
On my screen in front of me you’ll see that I already have a Google Form that I’ve built earlier. So that’s really the best place to start, by jumping into it with an existing form, or you can create a new one, and pop your questions in. So as I mentioned, you do need to make sure you stick to either multiple choice check-box or drop-down style questions. I like to include a “Your Name” question just for easy looking at the results to see which students have filled it in, but obviously you don’t have to if you don’t want to. I’ll talk a little bit more shortly about collecting the students’ email address as an identification as well.
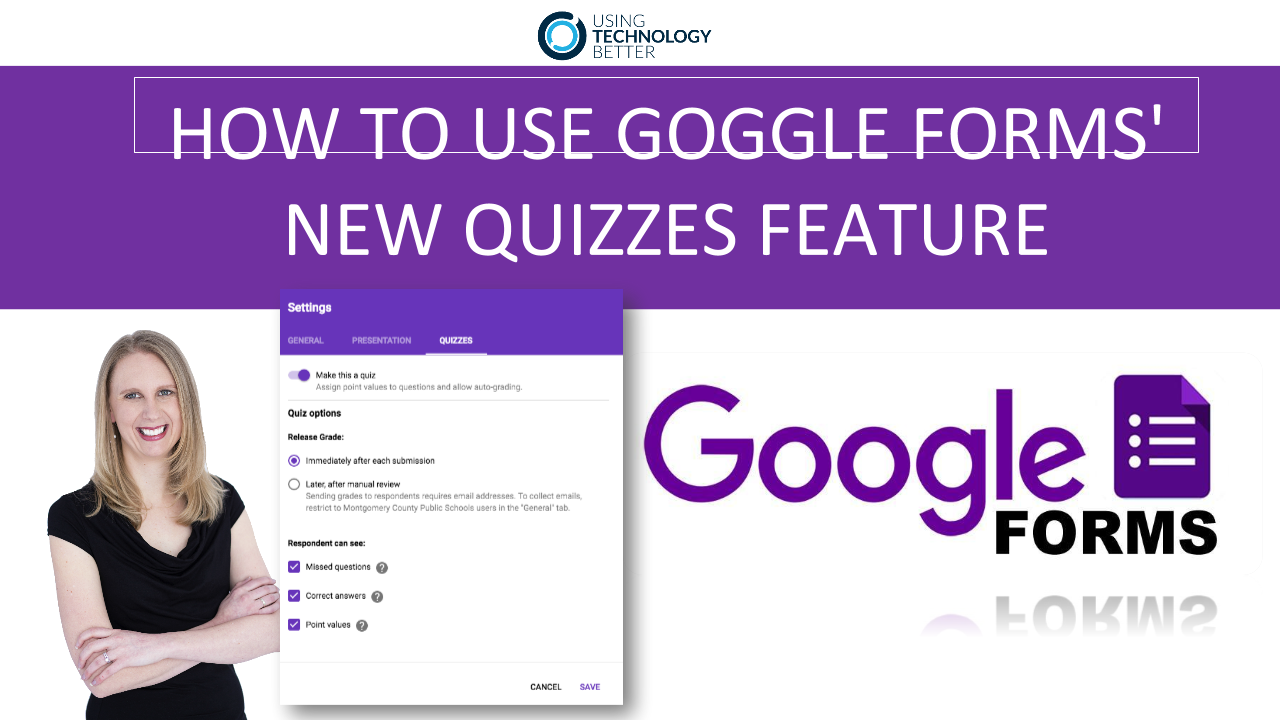
But now that we’ve added our questions, we can go in and actually enable the quizzing feature. So to do that, come up to the top right of the screen here to your cog icon which is Settings. And you’ll see that on the third tab, it says Quizzes. So we can jump in here and simply toggle on “Make this a quiz.” So further down, we’ve got a few options we can configure. So the first one is how you want to release the students’ mark. So “Immediately after each submission” means that they’ll see a little link on the screen that says “View my score,” and I’ll actually show you that shortly, and it will pop up their grades straightaway and any feedback that you’ve configured in there. Now if you prefer, you can actually not show them their score straightaway and put on this option for “Later after manual review.” Actually gives you the power to view all of the results and return the students’ grades in one batch. So for instance, you might want to use this latter option if it is quite a formal test and they are sitting at different times and you don’t want students to get feedback at different times.
So if it’s perhaps just a formative assessment quiz that they’re doing at home or during class and it doesn’t really matter, it’s not something that’s heavily graded or weight put on it, then you can probably just get it straight after each submission so that they can redo the test too if they want to and try to improve their score. So if you do choose this other option, “Later after manual review,” you do need to make sure you’re collecting the students’ email addresses, which you can only actually automatically do if you do have Google Apps at your school. So if you don’t, if you’re just using a personal Google account to send out Forms to your students because your school doesn’t have Google Apps, you’ll only be able to use this “Immediately after each submission” option. So down at the bottom here then we’ve got three different settings we can toggle on, so it’s a matter of what you want your students to do, it’s completely up to you.
You know, do you want them to see what questions they’ve missed, and if you hover over the little question mark, it’ll give you a bit more of a explanation about what that setting actually is. So you can see here, “Identify which questions have been answered incorrectly.” You can also choose whether you want to highlight the correct answers or not, and if you actually want to show them their score or not. So you’ve got those choices. I’m going to leave them all on for now. Before I jump out of here, I’m just going to go over to the general settings and just point out what I was referring to earlier about collecting email addresses. So if you choose, if you are in a Google Apps environment at your school, and you do choose to restrict the form to your organization, so it’ll have your school name here, you can then toggle on “Collect email address.” So this is the setting that must be enabled if you want to give feedback at a later date. Okay, so now that we’ve turned that on, let’s click Save. So what happens now is that we can go into each question and you’ll see down at the bottom here what is called the “Answer Key.” So I can click this and I can go in and select the correct answer.
Now, just a tip, you do actually have to click on the word of the answer, not the little round circle, otherwise it doesn’t toggle on. Then up at the top here, I can configure how many points this question is worth. So I’m going to set that to one. Now if I want to as well, I can come here to add answer feedback, and I can actually give the students some feedback about incorrect answers or correct answers, and they can actually see that when they get the results. I’m not going to pop in any for this question, so I’m just going to click cancel. Okay, so then further down, we’re just going to go and quickly do the correct answers for all of these, and we’re going to set them to one point. Now this one here, because it’s a check-box question, and there’s actually two right answers, I’m going to select both of them. And I’m going to make this one worth two points.
[bctt tweet=”Google Forms,You can also choose whether you want to highlight the correct answers or not.” username=”mikereading”]
Now, just a note on that, if you do say for example make it worth two points, and the student answers one – gets one of the answers correct but gets the other one wrong, they still don’t get any points. So at this point it’s not intelligent enough to assign, say, one point to one correct answer and another point to the second correct answer, it’s either all or nothing. Go to the next one, pop this one on. And then we’ve got the very last one down here. Okay. So I’m just making all of these other ones worth one point. So we are done now, so at this point, the students can go over and do the quiz. So I’m just going to bring a student account onto the screen here and do the quiz. Just popping in some fake names. Now I’m not going to get them all right, because I want to show you guys what it looks like, but I will get a few, so I’ll submit that one. So as you can see, because we actually set it so that it’s going to collect the students’ username, they do see a little note just to say that their username will be recorded. So that’s fine, we’re going to submit that.
And now what happens is they get a little confirmation and they can view their score on the screen. So if we click “View your score,” you’ll see another tab opens and we can see exactly what they got right and wrong. And obviously because I left all those options on about showing correct answers and showing scores, the student is seeing all of that. You’ll see here is where I pointed out that if they only get one of the two answers correctly, they still get zero points there. We’ll go down further. So that’s done. So what we might do now, before we actually do a second student response, we’ll jump back in and look at the responses. You’ll see here that we’ve got all of the different – we’ve got all of the answers and we’ve also got some basic statistics about the students’ responses. So because we’ve only got one we’re not seeing very much, but we can have a look through and see what they’ve got right and wrong. So just for the purposes of demonstration, I’m actually going to now jump back into this quiz and change it to “Later after manual review,” so I can show you how that bit works. So I’m going to save that now. I have another student ready to go over here, so they’re going to go and also do the quiz.
[bctt tweet=”Students learned how to use #GoogleForms in class to answer questions in their own and improved their mental performance during the activity.” username=”mikereading”]
We might get a few more right this time, but also a couple wrong, and submit it. Again, we’re just going to confirm, because it’s collecting our username. Now you’ll see here because I haven’t set it to automatically show them their grade, they don’t see that link. Now if you’re doing that, what I actually suggest is that you edit this text here, and I can show you how to do that in a minute, to say, you know, thank you for filling in the quiz, you’ll get your grade via email shortly. And that way they just know when to expect it. But in the meantime, we’ll go back and you’ll see here in our form now we’ve got two responses, so our statistics are starting to look a little bit better. And because I’ve actually put on that option about manual review and then releasing, down here I’ve got a section called “Scores,” and I can click “Release scores.” So if I click this, you can see here I can customize a message. And I can choose which students I want to send it to. So for instance, if I’ve already told Student 3 their grade, I could untick them and just send it to Student 2, and off we go. All right. So the last thing I’ll show you about this is just how to configure those options in terms of the little messages in the form I had mentioned.
So my first tip is, I always actually pop a little message at the start of the form in the description to say how many points it’s worth, and what happens after they submit it. So for instance, I’ve said here, “Click the view your score link”. If I wasn’t going to release the grades that way, I would have changed it and said, “You’ll receive your grades via email shortly after you complete the quiz”. So if you want to pop a little message on the response screen as well, so you can do that. To do so, you just come up here to the little settings cog, and you want to jump into the presentation tab, and down here where it says confirmation message, that’s where you can pop that little note in about, please check your email for your grades. The other thing is too, if you only want them to do the form once, you can untick here, show link to another response. And also on the general tab, if you want to, you can limit to one response, so that will make sure that they can only do it once. And again, you can only really use this option if you’re logging in and restricting it. Okay, so hopefully that’s given you a really good run through of the new quizzing feature in Google Forms. So thanks for watching.


