


Typing dates manually into Google Sheets is tiresome. There is another way!
Try this nifty trick that forces a cell to display a pop-up date picker box when you double click on it. The secret is to use the Data validation feature to limit the cell data to dates only. A special shout out to the lovely Amy, from our client Snowy Hydro, who shared this tip with me!
Here’s how to set it up:
1. Highlight the range of cells that you want to add a date picker too.
Tip: It’s best to do this before entering any data in the cells.
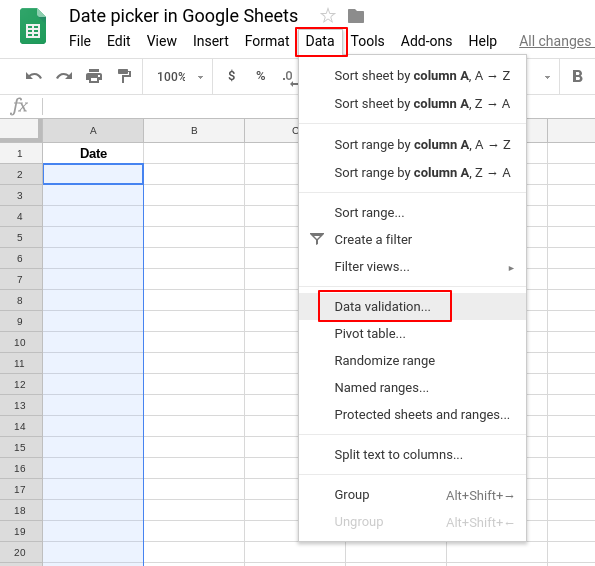
2. Select the Data menu > Data validation.
3. In the Criteria section, choose ‘Date’ from the drop-down list.
4. In the box that appears alongside ‘Date’, choose if you want to allow any date (leave it as ‘is valid date’) or a specific date range.
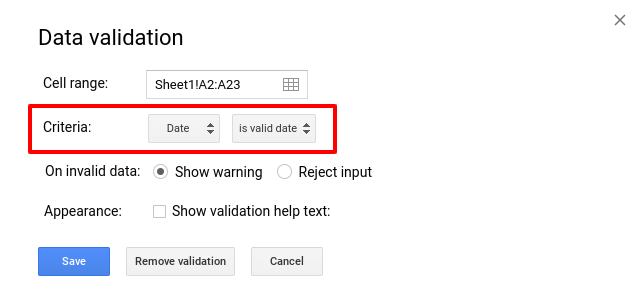
5. Click Save.
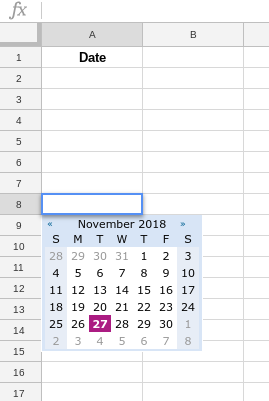
6. Double click on a cell in the range you added the validation to and watch as the date picker appears!
Visit our Learn on Demand platform to discover more helpful Google Sheets tips and tricks.


