


You may have your device access sorted in the classroom, but feel like you have lost control of the devices in your household or know parents who feel this way. Here are some tricks that gave me back control of the devices in my home and restored my sanity.
Step-by-Step Instructions
The type of devices you have in your household will dictate how you set up controls for your children or the entire house.
Apple devices may be more expensive, but they do offer parents a lot more control. Most other devices can be controlled through your internet system settings.
Apple iPad/iPhone
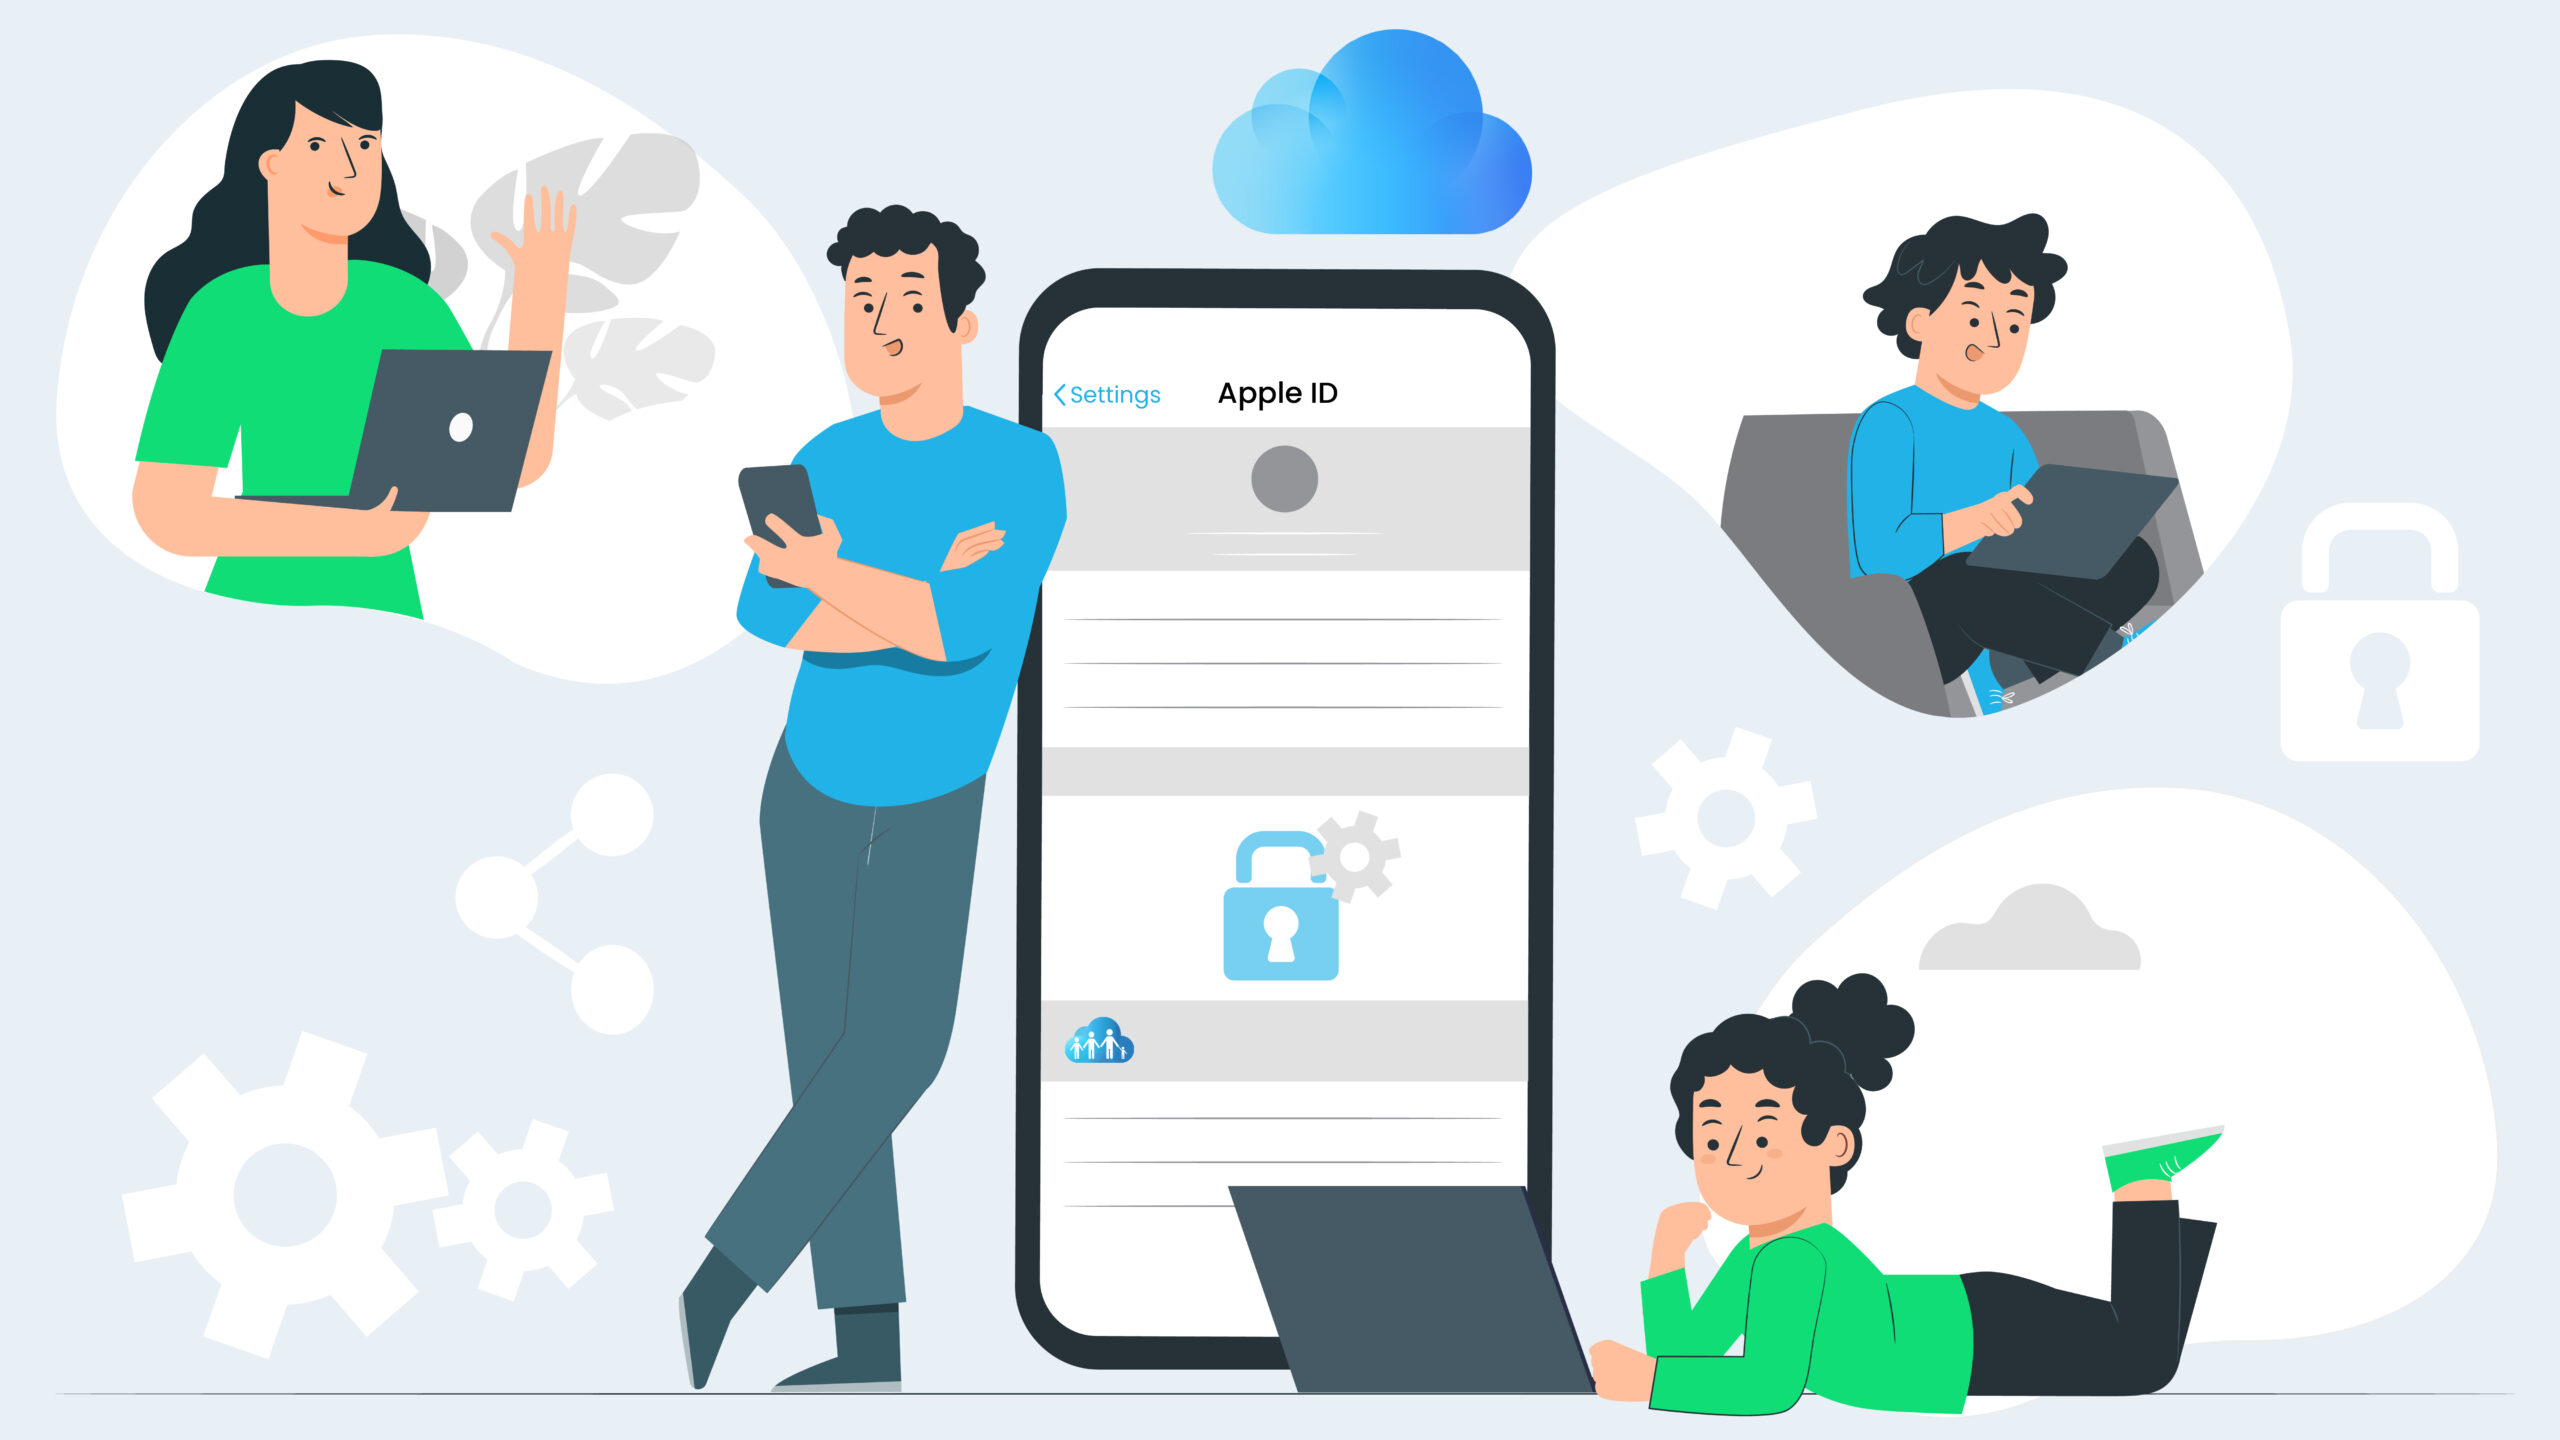
Most people set these up for their children using their own Apple ID. However, the easier way to do this which is better, in the long run, is to set up a Family Sharing account.
I stumbled onto this handy trick during one of the 2021 lockdowns and the instant control I took back from the constant iPad drain was amazing! Setting up this way does take a little bit of time, but it’s worth it.
How to set up a Family Sharing account on your own Apple device:
1 Go to Settings
2 Click on your name which will take you to your Apple ID information
3 Click on Family Sharing
4 Follow these instructions and create an Apple ID for each of your children.
Once each of your children has their Apple ID, then use it as the main Apple ID for each device. They will feel in control of their device, but secretly, you have more!
5 Add limits and controls to your children’s devices by going to Settings > Screentime.
6 Click on each of your children’s names to make personalised rules for each Apple ID. These rules can be easily changed as and when it’s needed.
The controls you will now have over your child’s iPhone or iPad include:
Setting a Downtime; schedules when the devices can be used so during the hours you schedule, the apps will not be able to be opened unless you add them to the Always Allowed apps. I used this to turn off the apps at shower time to stop my kids from getting up early and going straight onto games before the sun rises.
Creating App Limits; time limits are set for certain apps or bulk app types like games. I set an hour limit on gaming per day and once it is up, my kids are locked out of those apps and have to ask for more time, which I can deny or approve for a set time.
Managing Communication Limits; allows you to see and accept the contacts for your children. You can be in control of all contacts or allow them to control these as they get older.
Setting the Always Allowed Apps; these are the apps that can be always accessed even when the Downtime is enabled. I have enabled messaging, phone calls and maps for my children as safety measures, and I add a couple of apps to this list during the school holidays, which are then removed again during term time.
Content & Privacy Restrictions; this is where you can set rules around how they use the device. You can apply rules to App Store purchases, the Apple Apps they are allowed, location sharing settings, passcode and account changes, Background app activities, and a few more essential services. This gives you control over what they can do and put on the device.
Setting a Screentime Password; this is a passcode for you to access the Screentime settings and can be different from your phone passcode. It also can be used on children’s devices to allow more time so make sure it is one that only you know. I have set this separately from my phone passcode as my kids know my phone passcode in case of emergency.
Another great setting to control is which apps they can purchase on the App Store. Go to Settings > Apple ID (click your name) > Family Sharing > Ask to Buy and turn it on for each child.
With this on, each time my children want to download an app, they have to ask first and I get a notification on my phone to accept or deny this. This has been amazing for stopping my youngest from loading his iPad with useless apps.
Internet Control Apps
Internet control applications can be the best way to keep control of the internet flow throughout your home. The first step is to log in to your internet service provider’s router if you haven’t already. Instructions to do this should be in or on the box or your ISP website.
Most router logins will allow you to change the password on the WiFi access and the name you call your home WiFi. Many also allow you to see the devices that are connected to the internet and you can manage or remove these from here. This is great for when your teenager is grounded and you don’t want them to have WiFi access. Some systems will also let you set times when the internet is available for certain devices.
The next steps from here do require a bit of investment. Upgrading to a Mesh system not only gives you greater internet coverage but most come with a handy app that you can track the usage of your household internet. Some of these are Deco, Nest, Orbi, and Ero, to name a few.
I have an Orbi system in my home and can turn individual devices’ internet off with the swipe of my finger on my phone. Additionally, you can add parental apps to some of these systems to give you even more control over your kid’s devices, but these do come with the extra cost of a monthly subscription. It is worth spending the time to look at what will work for your home.
Another way to add parental control without upgrading the whole system is to use a parental control product like Intego, FamilyZone, Norton Parental Controls, MSpy, Kaspersky, or BullGuard, to name a few. These are subscription products that allow you to manage the activity of your children on the internet and set limits.
A little bit of time now looking for the best options for your home will give you peace of mind later.
Messenger Kids
For those of you who are not yet up with this, Messenger has created a kids’ version, Messenger Kids that can be monitored by parents. Follow the instructions here to set this up for your children through your Facebook account.
Messenger Kids has extra controls around sharing photos and links, setting time limits, seeing and approving the contacts of your children, seeing the number of messages they are sending, and seeing every photo posted to or from your children. Because it is linked to your Facebook account, you get a message each time your child changes major settings or adds new contacts. My 10 year old loves being able to contact his friends that have moved to other schools.
Remember, you don’t need to be a tech wizard to keep control of your kids’ devices, you just need to have the right tools and information.
Discover more about how to use the iPad effectively with our Getting started with iPad Learn on Demand course.


