


How cool is it to be able to make your writing invisible? What an air of mystery you can create when you’re able to ‘hide’ your messages or provide an opportunity for your students to ‘discover’ hidden text.
Working digitally with your students provides many ways for you to have fun and engage your students in ways that are not as easy to do with pen and paper. Creating ‘invisible’ text is a great way to provide immediate feedback, to hide messages that need to be ‘discovered’ in order to move on to the next task or to provide growth mindset messages in a unique, fun way.
[bctt tweet=”Create invisible writing to have fun with your students” username=”donnagolightly1″]
Here’s three different ways you can do it:
1.Using Google Docs
To hide your text in a Google Doc is very simple. Type your message as you normally would, highlight the text and turn it the same colour was the background – most likely white.
So that the students know where the ‘invisible’ text is sitting it would be a good idea to have a border around it. This can be easily achieved by making a one column by one row table and placing the text inside that.

Once you have typed the message you what your students to discover, you simply highlight it, and using the font formatting tools, turn it the same colour as the background. In this scenario I would turn the text white because that is the background colour. Highlight it, go to the Text Colour tool-  – and choose white.
[bctt tweet=”Turn your text the same colour as the background to ‘hide’ a message for your students.” username=”donnagolightly1″]
It now looks like there is no text in the table. To reveal the ‘hidden’ message the students would click in the table, select all by using the shortcut CMD+A for Mac, or CTRL+A for PC, and choose any Text Colour other than the background colour.

Volia! The message is revealed!
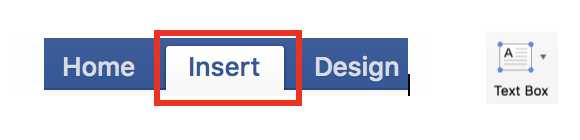
2. Using Microsoft Word
If you are working with Microsoft Word the process is very similar. You simply insert a text box and use the line tool to darken the outline.
Choose the colour you want the border of the text box to be, and the weight of the line you want. In the example below I’ve chosen red as the outline colour and the the weight is 41/2pt.

You then follow the same process as you would for the Google Doc version:
- Type in your message
- Change the font colour to match the background of the text box
- Your message is now invisible
- When you want to reveal the hidden message, select all inside the text box and change the colour of the text
3. Using Google Drawing
Google Drawing is a tool that allows us to do a huge number of tasks – one of which is to create ‘invisible’ writing in a different way. You can use this method as a stand alone Drawing or inside a Google Doc.
Open your Drawing. Create the shape or text box that you want the ‘invisible’ writing to be inside. Duplicate your original shape and fill it with a colour of your choice.
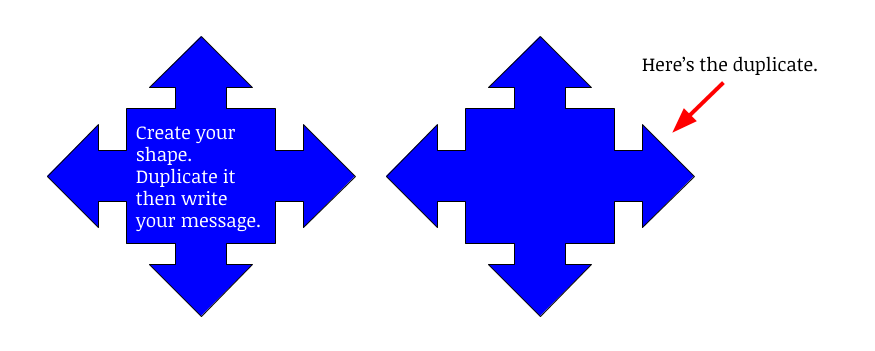
When you have finished adding your message to the shape, move your duplicate and place it on top of the original. Your message is now ‘invisible’.
[bctt tweet=”Use duplicate shapes to create invisible messages for your students.” username=”donnagolightly1″]

When you want to reveal it – simply move the top object away.
So there we are – three very easy ways to have fun with your students by using ‘invisible’ writing. For more tips and tricks like this head to our website here.


