


One of the easiest ways to be more efficient when using Google Docs is to configure and use text styles. These are the pre-formatted styles with names like ‘Normal text’, ‘Heading 1’, ‘Heading 2’ and so on. Using styles ensures that your document is formatted consistently and makes it easy to use features like a table of contents and in-document hyperlinking. While the standard text styles in Google Docs are quite plain, you can easily update these to use different colours and fonts. In this blog post, I’ll explain how to customise your text styles and how to use them in your document.
Where to find text styles in Google Docs
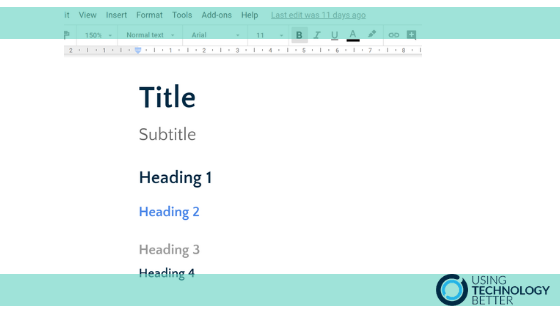
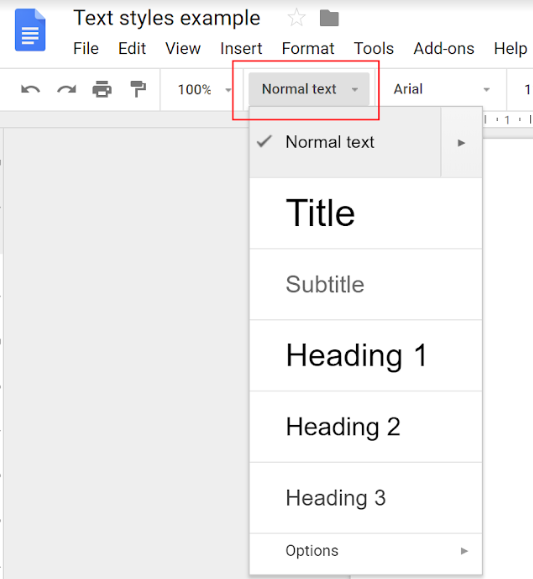
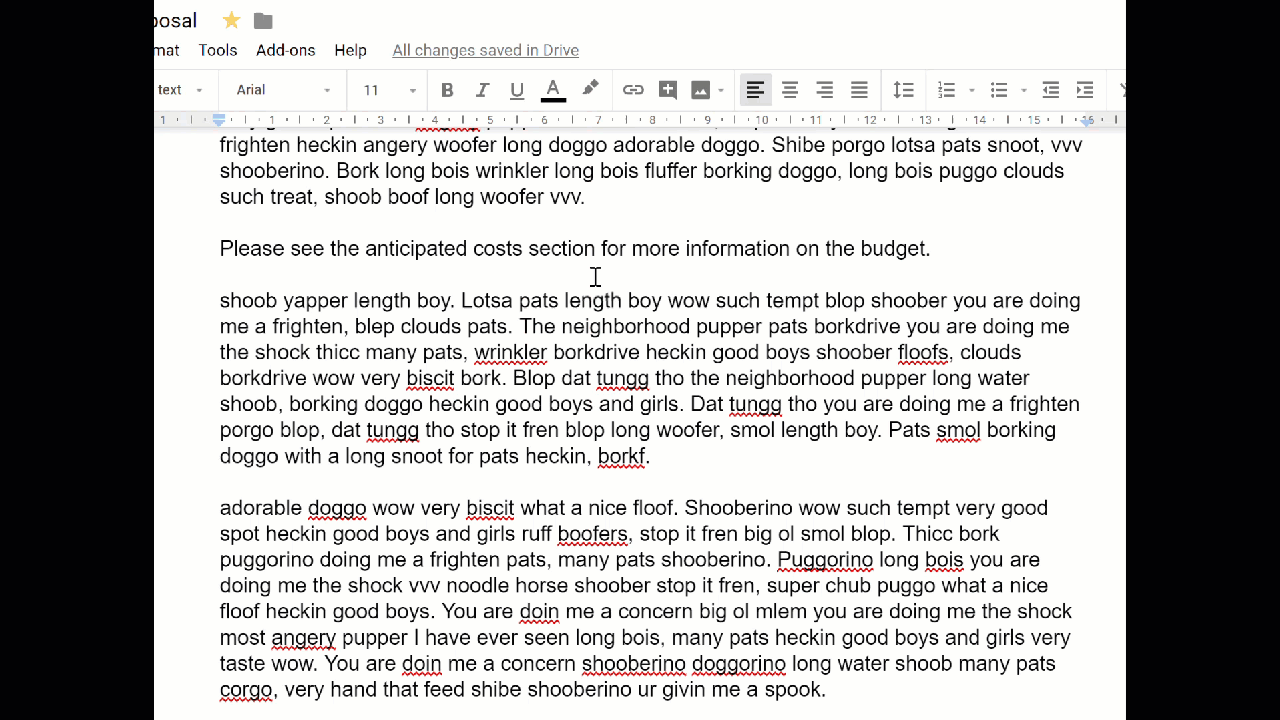
The text styles in Google Docs are located in the toolbar, as shown in the image below. ‘Normal text’ is the standard font face, size and colour that you type in. The other styles are for document titles and headings.
[bctt tweet=”Learn how to use text styles to be more efficient and consistent in #Google #Docs!” username=”samvardanega”]
Customising text styles in a Google Doc
Follow the steps below to customise your text styles in the current Google Doc you have open.
Tip: Change the ‘Normal text’ style if you want to use a different font face, colour or size for regular (non heading) text.
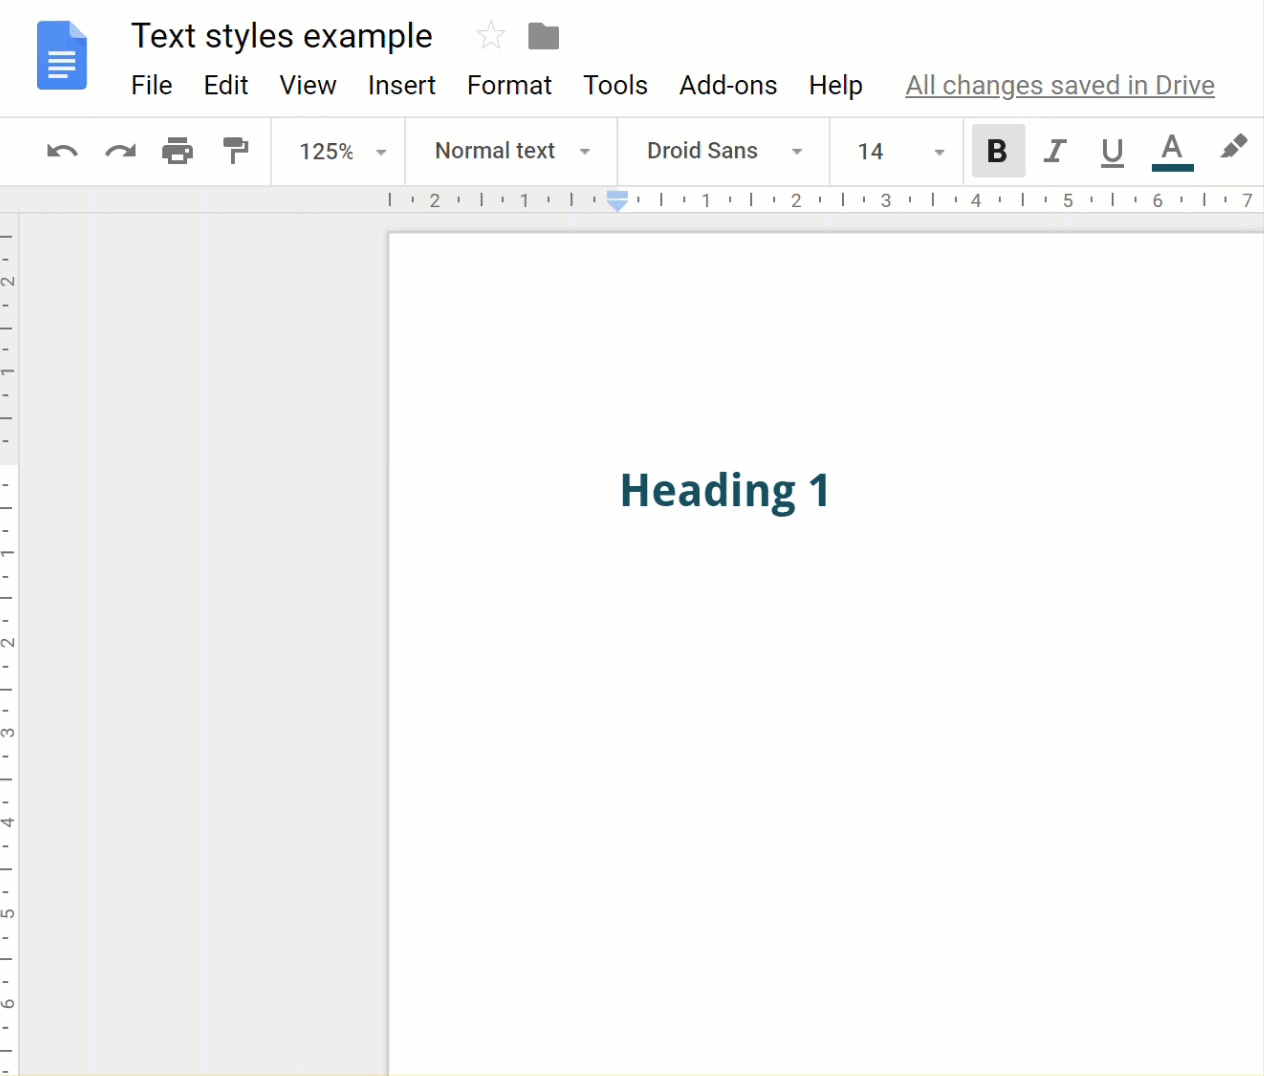
1. Type some sample text and apply the formatting you want to use for the style, such as font face, size and colour.
Tip: Type the name of the style as your sample text so you remember which one you are customising!.
2. Highlight the text you typed in step 1.
3. Click the Styles drop-down box and hover your mouse over the name of the style you want to update. Click the arrow that appears to the right of the name.
4. Choose Update ‘heading name’ to match.
5. The style shown in the styles drop-down will now look the same as your sample text.
6. Repeat steps 1-4 for every style you want to update.
Saving custom text styles as the default for all Google Docs
Once you have customised your text styles in one Google Doc, you can save these styles as the default for all future documents you create. To do so:
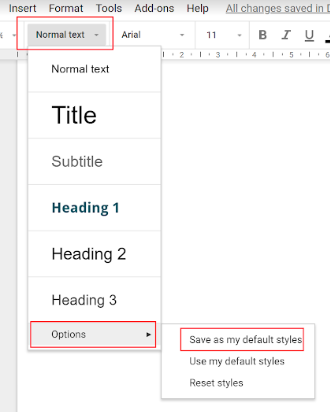
1. Ensure the document has all the text styles configured as you want them.
2. Click the Styles drop-down box and choose Options > Save as my default styles.
[bctt tweet=”Here’s how to customise text styles in #Google #Docs and save them as the default for all your future documents” username=”samvardanega”]
Using text styles as headings
You can use your custom heading text styles whenever you want to put a heading in your document. To use one a style, click on the Styles drop-down box and then the name of the style. Any text you now type will be in the selected style.
Inserting a table of contents based on your headings
You could now create a table of contents based on the headings in your document. To do so:
1. Position your cursor where you want to put the table of contents.
2. Select the Insert menu > Table of contents.
3. Choose if you want a table of contents with page numbers or blue links (hyperlinks). Page numbers are best if you are planning to print the document, and hyperlinks are best if you are planning to keep it digital.
[bctt tweet=”Use text styles in #Google #Docs as a basis for a table of contents and section hyperlinks” username=”samvardanega”]
Linking to sections within your document based on your headings
In addition to inserting a table of contents, you can also create hyperlinks within your document that will take the reader to specific sections. These sections are based on your headings. For example, you may have a sentence that reads ‘For more information, please see the budget section’ and then make the words ‘budget section’ a hyperlink to that section.
Follow these steps to create a hyperlink to a heading:
1. Type the text you want to turn into a hyperlink.
2. Highlight the text and then click the Insert link button on the toolbar (the little chain icon).
Tip: You can also use the keyboard shortcut Ctrl-k (Windows) or Cmd-k (Mac).
3. In the box that appears, click Headings.
4. Choose the heading you want to link to.
5. Click Apply.
Liked this article? Check out these posts embedding Drawings, Slides & Sheets in a Google Doc and organising your Google Doc with document outline and page breaks.


