


Recently we wrote about five sites where you can find free images and showed you five ways to become a smarter image searcher. In this post, we’ve got some great tips for finding thousands of free images without having to leave Microsoft Word or PowerPoint. All of these images are covered by Creative Commons licensing, meaning you can legally use them in your work (although it is always a good idea to cite your sources!).
Note: The tools and instructions in this article are based on Microsoft Word and PowerPoint 2016 (with the latest updates installed via an Office 365 subscription).
Online Pictures search
The Online Pictures search tool is built-in to both Microsoft Word and PowerPoint (and OneNote too!). It uses Bing Image Search (similar to Google Image Search), which offers a huge range of creative commons images. You can filter images by a range of criteria, and the Creative Commons attribution will be added automatically when you insert the image.
Here’s how to use the Online Pictures search tool:
1. Select the Insert tab > Online Pictures.
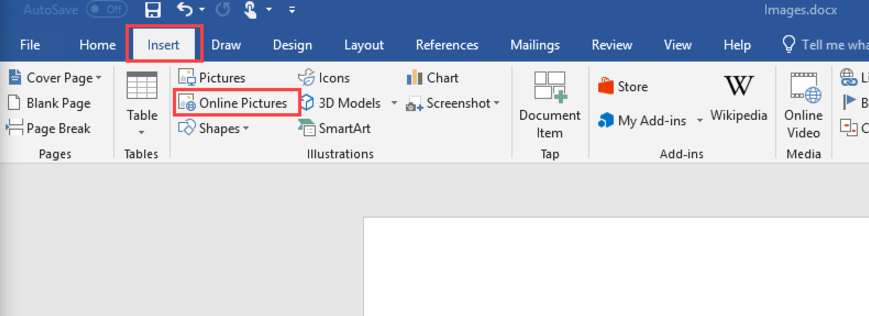
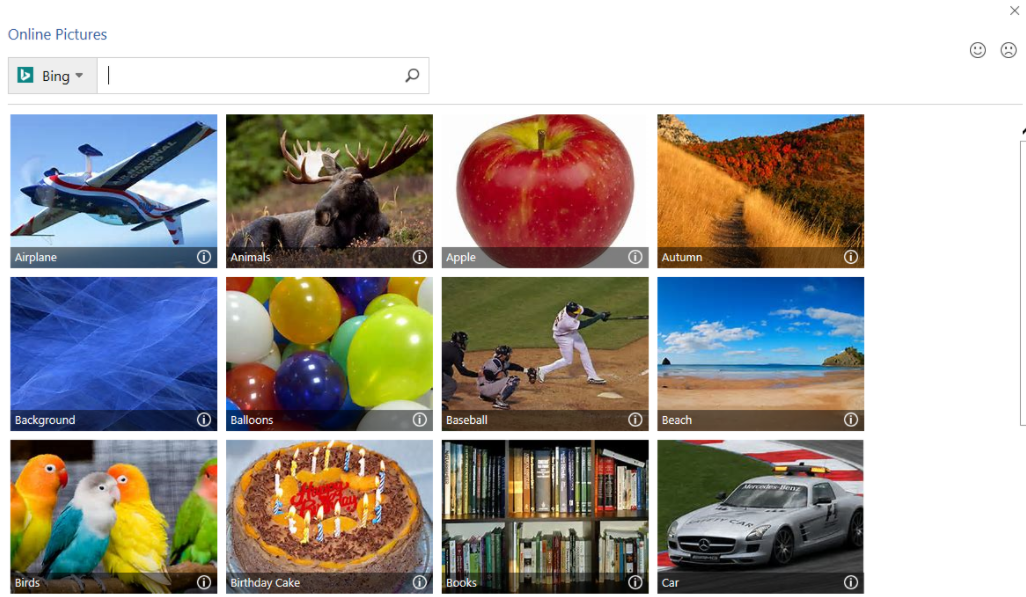
2. Choose a category, or type a search term.
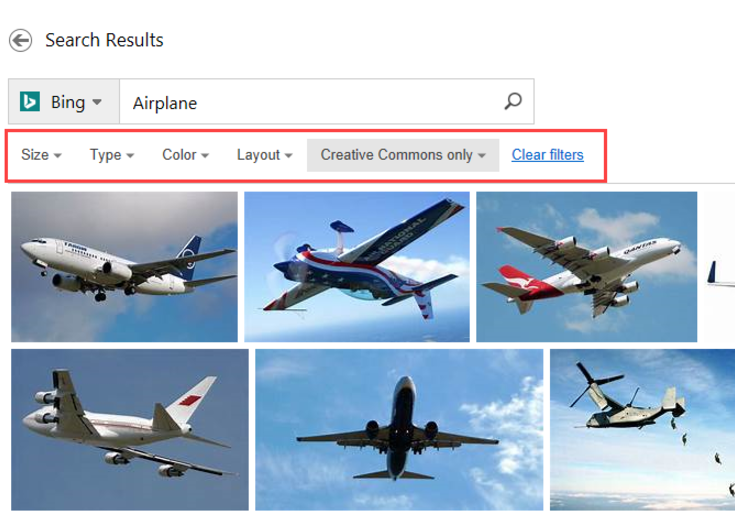
3. Use the drop-down filters at the top of the image search results to refine your search.
Tip: You’ll notice that the ‘Creative Commons’ only option is on by default.
4. Double click an image to insert it into your document. You can also insert multiple images at once by ticking the boxes in the top left corner, then clicking the Insert button (bottom right corner).
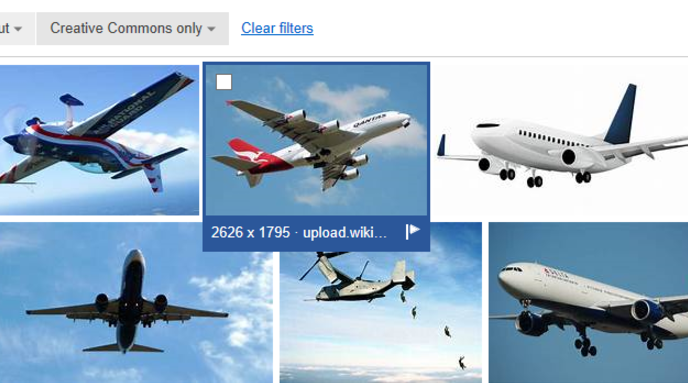
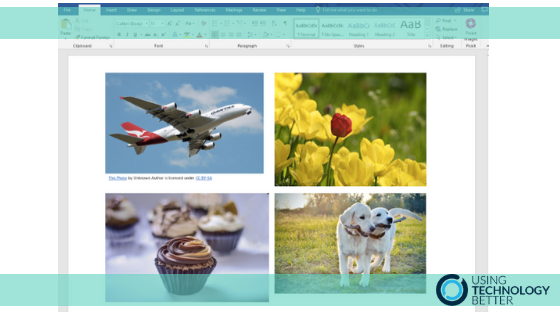
The image will be inserted into your document or presentation. Notice how a link to the image source and the licensing terms is automatically included below the image.
[bctt tweet=” Find and automatically cite thousands of Creative Commons images by using the Online Images tool in #Microsoft #Word and #PowerPoint.” username=”samvardanega”]

Image search add-ins
Office add-ins allow you to add heaps of extra features and tools to Microsoft Office applications. There are several add-ins that allow you to search for images from popular free image sites, including Pixabay, Pexels and Pickit Images.
[bctt tweet=”Did you know that #Microsoft #Word and #PowerPoint have add-ins? Here’s three great add-ins that you can use to find thousands of free images!” username=”samvardanega”]
Installing and using the Pixabay add-in
Follow the steps below to find and install the Pixabay add-in in Microsoft Word or PowerPoint:
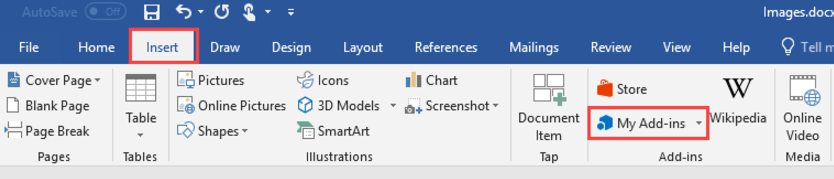
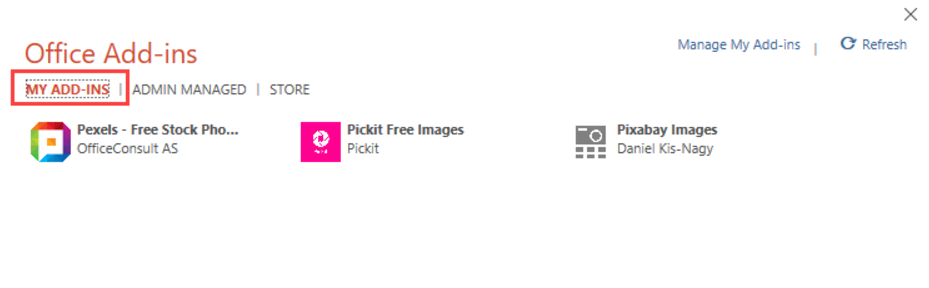
1. Select the Insert tab > My Add-ins.
2. Click the Store section.
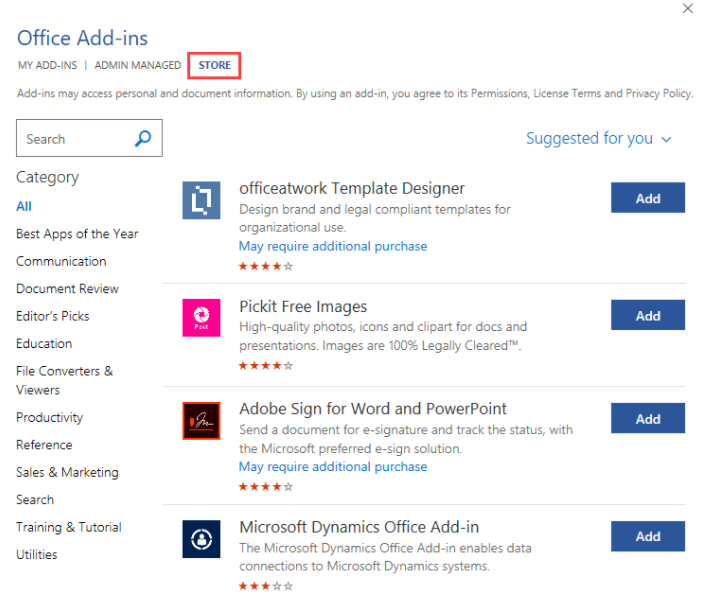
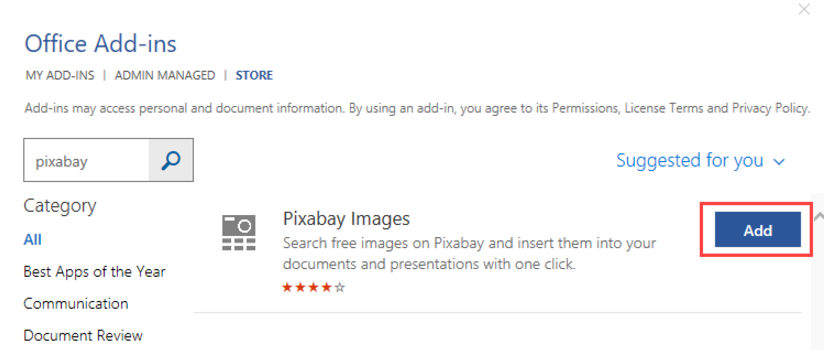
3. Browse or search for the Pixabay add-in. Click the Add button to install it.
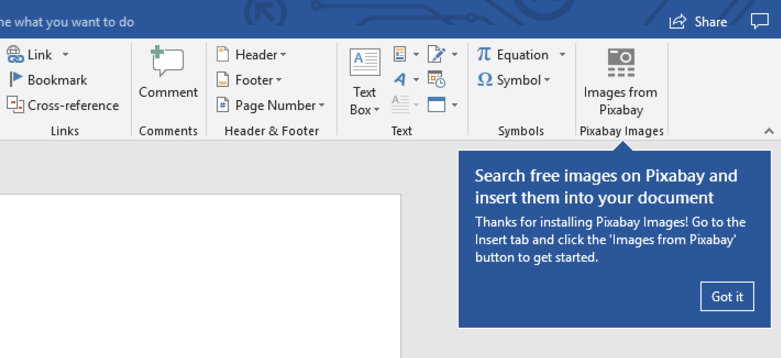
4. The add-in will be installed, and a button will be placed on the Insert tab.
Note: The location of the button varies depending on the add-in. The Pixabay button is located on the Insert tab. However, other add-ins may put their buttons on other tabs.
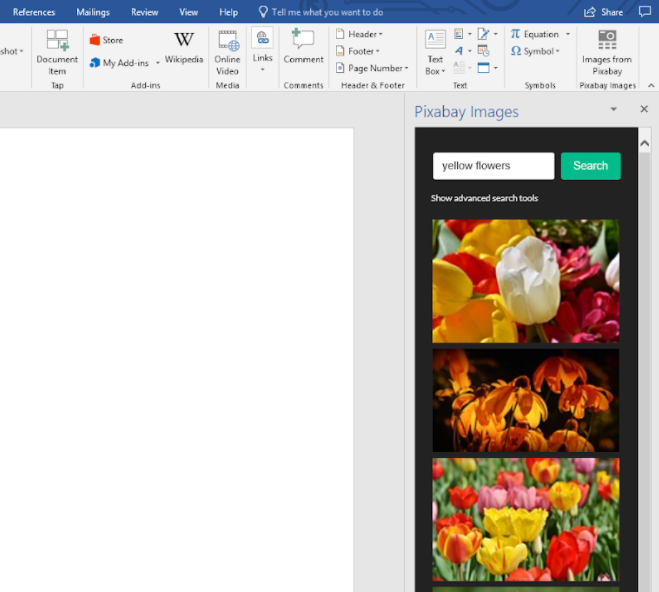
5. To use the add-in, click the button and Pixabay will load on the right-hand side of the screen.
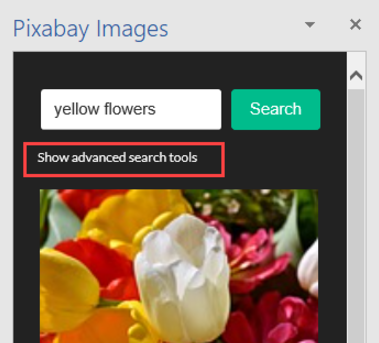
6. Pixabay also has advanced search features to help you refine your search results. To access these, click Show advanced search tools.
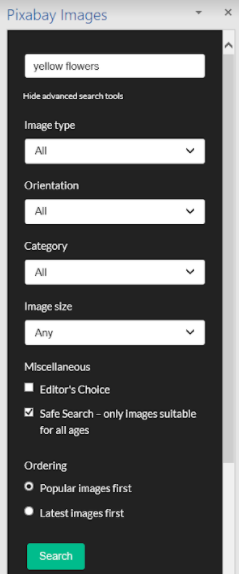
7. Use the drop-down boxes to select your search criteria.
Note: You’ll notice that there are no filters for Creative Commons licensing. That’s because all
images on Pixabay are covered by Creative Commons CC0 licence, which means you can use them for any purpose without attributing the original author or source.
8. Double-click an image to insert it into your document or presentation.
[bctt tweet=”Pixabay has an add-in for #Microsoft #Word and #PowerPoint! Here’s how to use it to search for thousands of free images without leaving your document or presentation” username=”samvardanega”]
Installing and using the Pexels add-in
1. Install the Pexels add-in using the same process outlined above for the Pixabay add-in (but be sure to search for Pexels instead!).
2. The button for the Pexels add-in will be placed on the Insert tab.
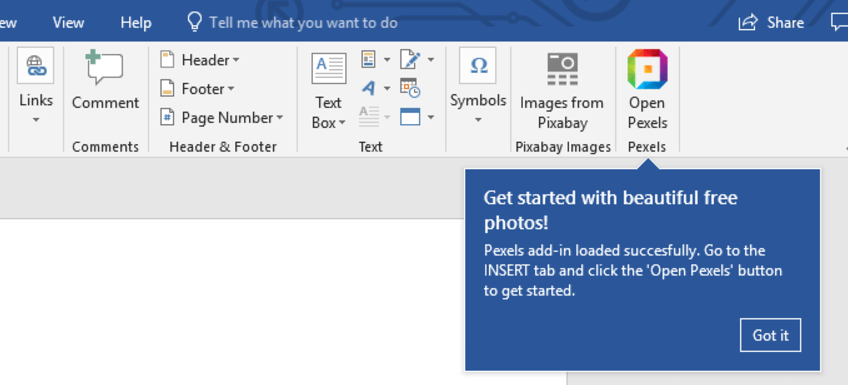
3. To use the add-in, click the button and Pexels will load on the right-hand side of the screen.
4. Type in a search term to begin searching. You can also use the Search by colour option to refine your search.
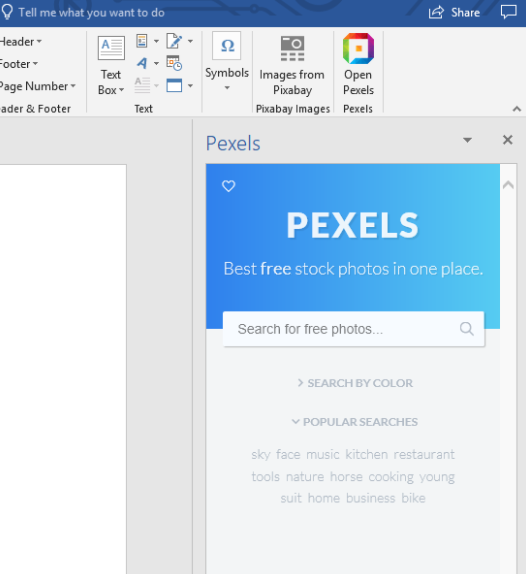
5. Double-click an image to insert it into your document or presentation.
Installing and using the Pickit Images add-in
1. Install the Pickit Images add-in using the same process outlined above for the Pixabay and Pexels add-ins (but be sure to search for Pickit Images instead!).
2. The button for the Pickit Images add-in will be placed on the Home tab.
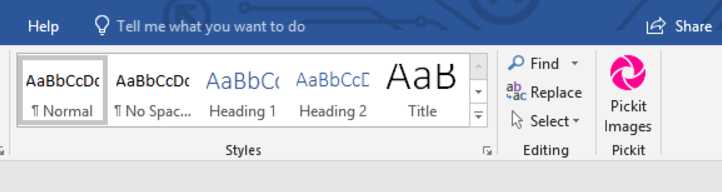
3. To use the add-in, click the button and Pickit Images will load on the right-hand side of the screen.
4. Type in a search term to begin searching. You can also use the filter button on the right side of the search box option to refine your search.
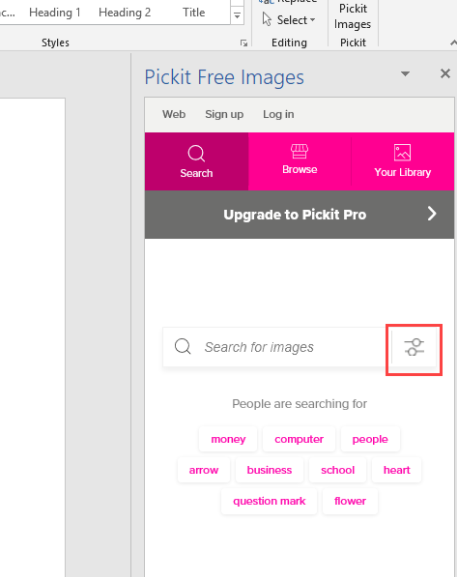
5. Double-click an image to insert it into your document or presentation
[bctt tweet=”Love Pixabay, Pexels or Pickit Images? They all have great add-ins for #Microsoft #Word and #PowerPoint.” username=”samvardanega”]
Adding installed add-ins to other Microsoft Office applications
Once you have installed an add-in in one Office application (such as Word), you just need to add it to other applications you want to use it in (such as PowerPoint).
To do this:
1. Select the Insert tab > My Add-ins.
2. In the My Add-ins section, you will see a list of add-ins that you have installed in other applications.
3. Click on the add-in you want to add, then click the Add button at the bottom of the Office Add-ins box.
4. The add-in will be added to the toolbar.
Want to learn even more Office 365 tips and tricks? Join our online professional learning community.


