


Want to spend more time living and less time working? There is nothing more valuable to a teacher than time so here are 3 ways where you can use Microsoft Forms to save some.
Self-marking quizzes
The number 1 stop for checking student knowledge and understanding. Creating a self-marking quiz is great as not only do you not need to mark it but, your students get instant feedback and the results are automatically collated and analysed. Win-win-win in my book. Plus you can use the quiz (or a copy of it) next year.
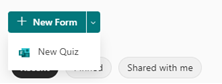
Let’s get creating! First, select New Quiz using the drop down arrow beside New Form.
Name your quiz something relevant and pop in a description if you like. When you are ready, add your first question by clicking on Add new and select Choice.
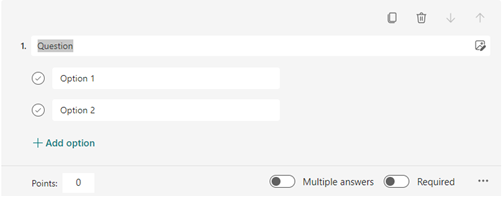
Type in your question and add some possible answers. Click on the tick beside the correct answer and then input how many points you want to allocate in the box at the bottom.
Click on Add new and do the same for all the questions you want to add.
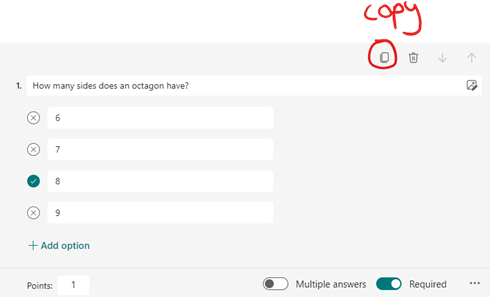
Tip: If you have some similar questions, use the Copy Question and amend it to suit.
Now you are ready to share your quiz with your class. The easiest way to do this is with a link. Click on Collect responses in the top right corner and the window below will pop up. Now choose who can respond (within a school, people in my organisation is usually a good choice), tick the Shorten URL option as it makes the web address a bit less daunting for some students then click Copy.

You are now ready to share your form by pasting that link through a post in Teams/email/OneNote or by whatever means is easiest for you and your class.
Auto-generated and self-marking Maths Practice Quizzes
This one is my fave, by using OneNote’s Maths Assistant you can easily generate self-marking Forms for your students to complete and share the link or have them embedded into OneNote. Time-saving heaven!
Start off in OneNote and use the Insert menu to type or ink some maths questions.
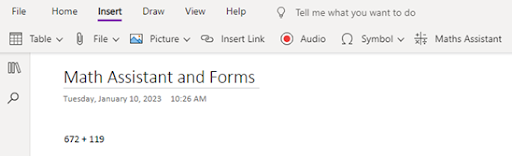
Highlight the Maths question and click on Maths Assistant. This will open a pane on the right of your screen. Click on Select an action and select the action you want from the drop down list – I picked evaluate as this is the most common use in schools.
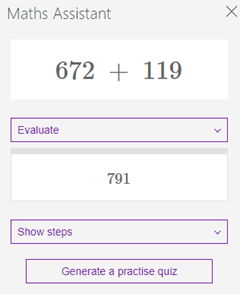
You will now see the Generate a practice quiz button and when you click you will be asked to choose the amount of questions you would like in your quiz.
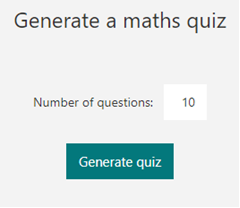
Change the number and then select Generate quiz. Your Forms-based quiz will now be embedded in your OneNote page.
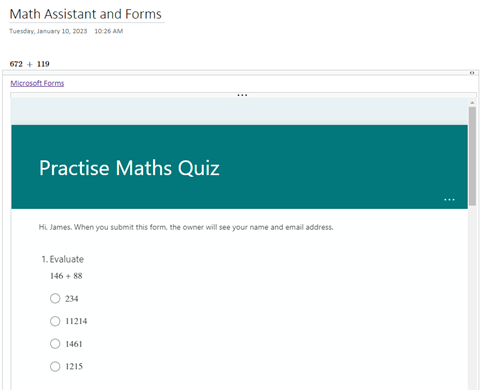
You can log in to Forms and share the quiz just like in the first example or, if you are using Class Notebook, you can share with your class by directly sharing the page.
Rubrics for project work
By setting this up, I saved so much time marking and it was also great as a self/peer assessment tool.
To create your rubric, click on New form and type in a name and description if required. Select Add new then click on the down arrow at the end of the list and select Likert.
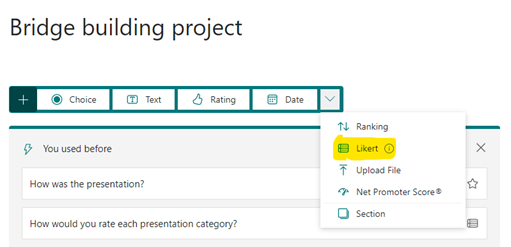
Enter the criteria you are using to grade the project down the side and your staged judgements along the top.
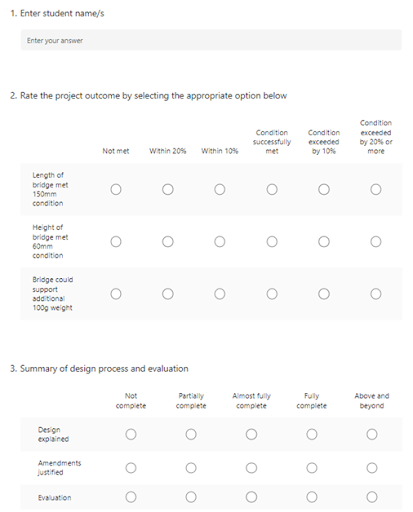
By using this style of Form, I can grade a class set of projects easily and efficiently. In addition, Forms automatically saves and analyses the submissions for me so no need for me to process the data.
Test your M365 skills using our online tool – click here
Creating authentic assessments with Microsoft Forms – click here


