


4 Ways You Can Make Your OneNote look a little less drab and a little more fab!
OneNote is an awesome tool for organisation but it can often look a little plain and boring. Here’s a few tips to leverage those extra features to help you improve the appearance of your OneNote while optimising your efficiency. For reference, I have used the OneNote for Windows 10 desktop app for the below instructions but you can use these tips across all versions 👍
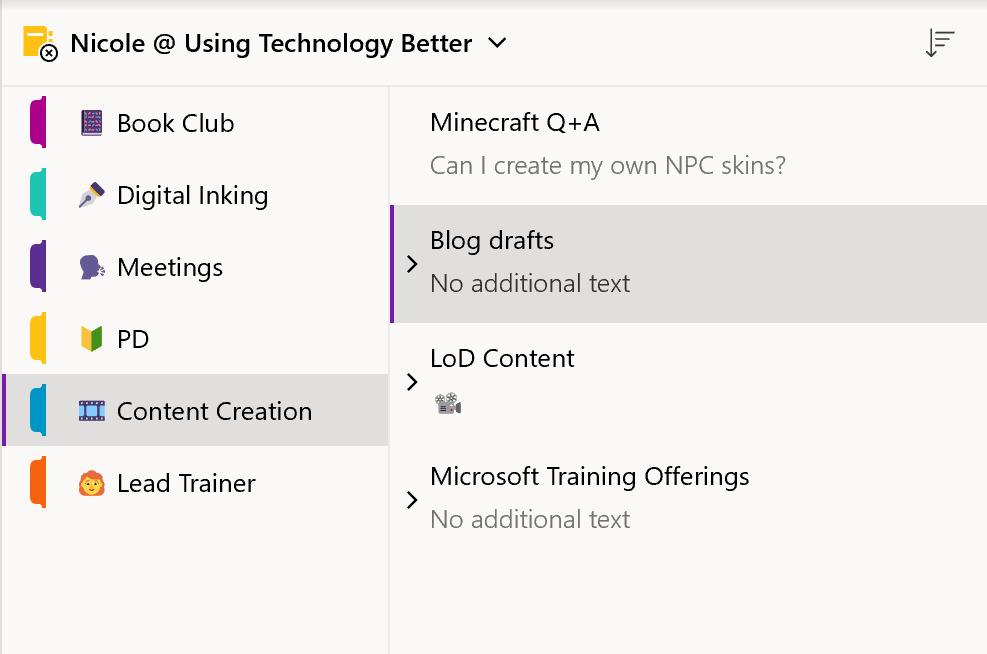
1. Use emojis when naming your sections
Research shows us that placing an emoji at the beginning of a folder name allows your brain to make neural connections to locate information more easily. It’s also a more inclusive content design for those collaborative notebooks (looking at you, teachers using Class Notebook).
Easily choose a fitting emoji using the keyboard shortcut for your device below and searching a keyword:
Windows: Windows key + .
MacBook: ctrl + cmd + spacebar
Chromebook: Search/Launcher key+Shift+Space
iPad: Hit the smiley face on your touch keyboard

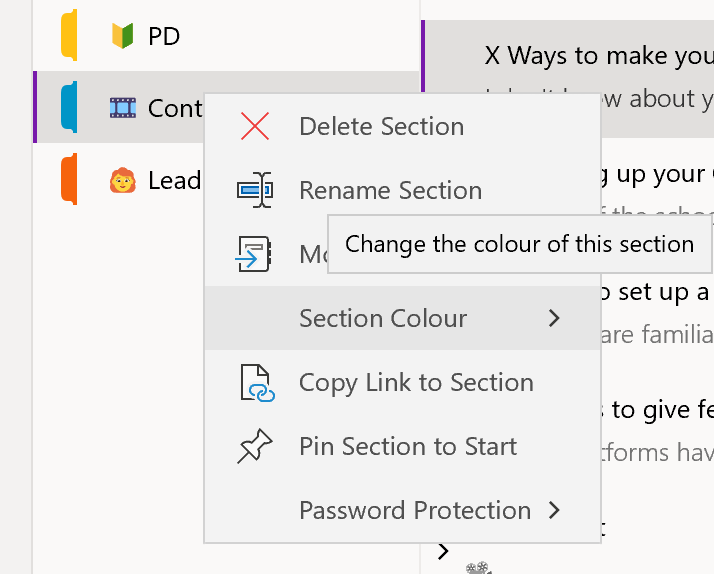
2. Change the section colours
If you are anything like me, you’ll have noticed in the screenshot the emojis matched the section colour. I agree, it’s very pleasing to the eye. This one is a simple tweak, just secondary click on the section and click into the section colour options.
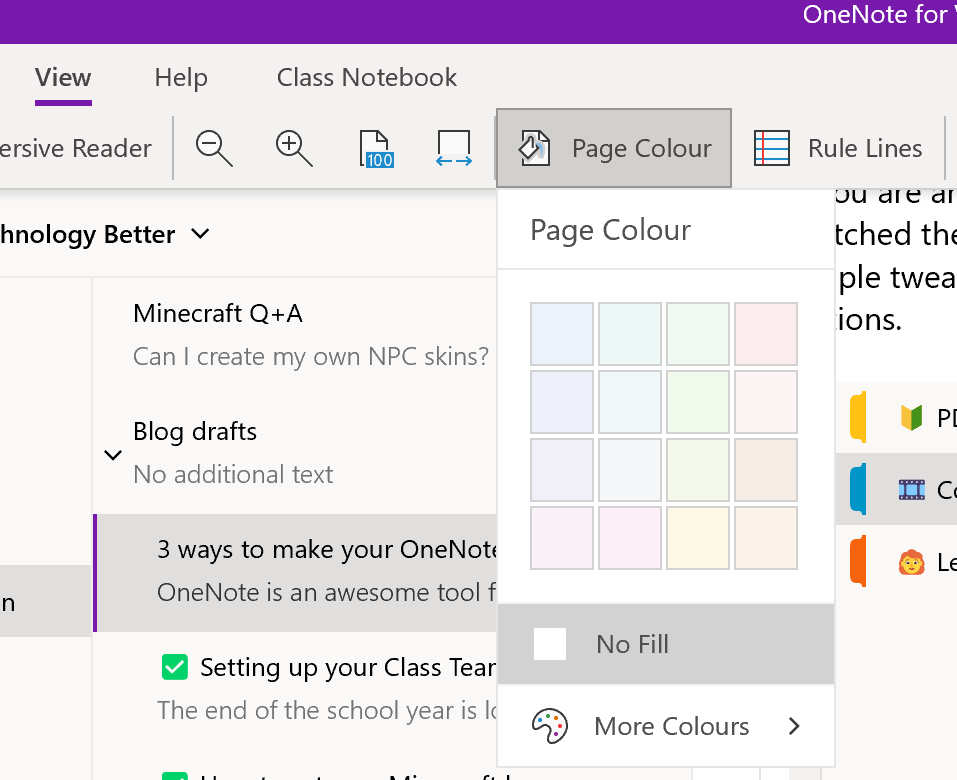
3. Liven up the background
The pages are blank by default, but this doesn’t mean you can’t inject a bit of colour! In the ribbon, click on the View tab and you’ll see the Page Colour option.
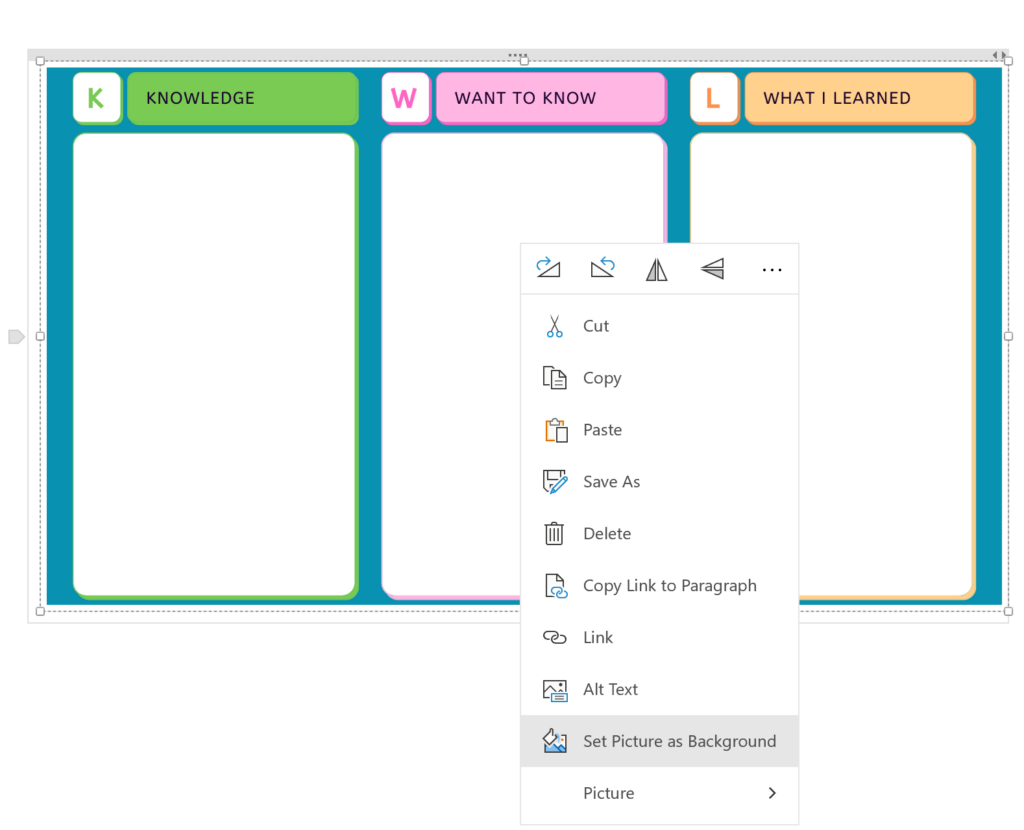
Take it one step further and insert a picture you want to use as a background. Simply insert then secondary click and hit ‘Set picture as Background’. You could even use this one if you have a company vision you visit every team meeting, school values you want your staff to keep front of mind, or image template you want to collaborate on.
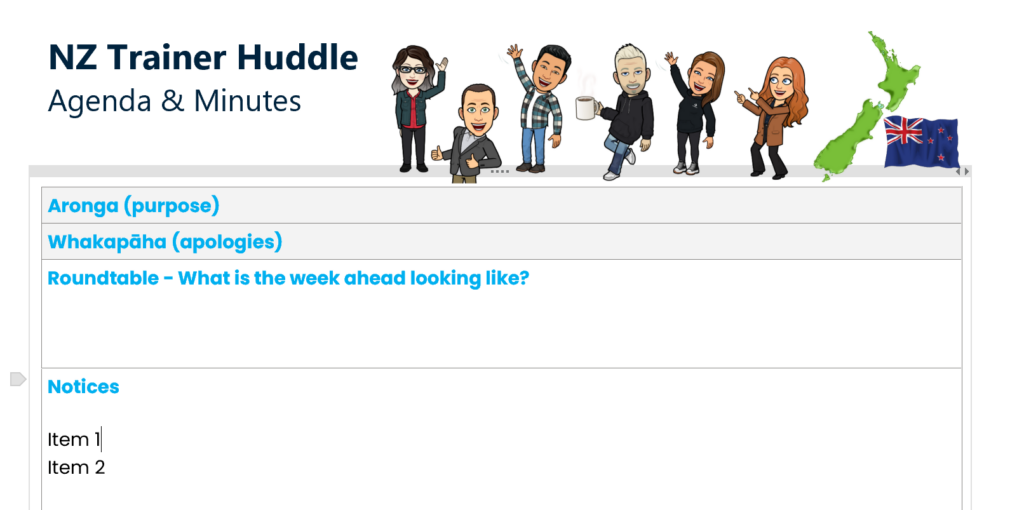
4. Use avatars to add personalisation
This one is a fun way to bring a bit of a personal touch to a meeting agenda or a class task. As in step 3, these can be inserted as an image file and set as a background. You could as your team to send you theirs linked to a theme and change it up each quarter – I know our team enjoy this one!
Test your M365 skills using our online tool – click here
Check out how to manage your meeting notes with OneNote here


